Showing posts with label Garden to table. Show all posts

Sunday, April 2, 2017

Calamansi Juice Concentrate 桔子浓缩果汁

 After resuming the 9-5 working life, I hardly spent much time in taking care of my garden. However, my 5 years old calamansi tree never seems to fail me by continuing fruit abundantly.  Calamansi is Limau Kasturi in Malay or 桔子in Chinese.  We couldn’t seem to consume the fruits fast enough to cope with its ripening rate. Rather than letting them simply rot and went to waste, I had to harvest them and shared with neighbours and friends.


When I passed a bag of these little citrus fruits to my Sister-in-law who lives in Penang, she taught me a great way to preserve them into concentrated juice that can be kept in the fridge and can be easily consumed as and when we want. What I like most is, it is a very simple way to make. The recipe ratio for making this juice concentrate is 1:3, i.e. one part of juice and three parts of sugar. For my first attempt I used white sugar.  In my 2nd batch I replaced white sugar with brown sugar instead as some claimed brown sugar is healthier than white sugar. If brown sugar is used, the colour of the juice concentrate becomes darker and looks like honey instead of light golden colour as shown below.


You can also check out my old post of Calamansi Sour Plum Juice, to learn how to make fresh Calamansi juice with Sour plum, another great thirst quenching beverage that you will yarn to have in the hot summer. Calamansi is a member of the citrus fruits family.  It is high in Ascorbic Acid or vitamin C content and best known for its healing effect to soothe the throat, a great natural cure for sore throat.

Now, at home my fridge is always ready with 1-2 bottles of this juice extract and by mixing 1 to 2 table spoons of the juice extract, we get to serve a glass of healthy soothing fruit juice with no artificial colouring and preservative, let’s cheer to that! J
 
 
Calamansi Juice Concentrate
 
Ingredients:
 
Calamansi lime ( Limau Kasturi) juice – 1 bowl,
Sugar – brown sugar or white sugar – 21/2 to 3 bowl (To your liking)
Pasteurised bottle to store the juice
 
Method:
 
1.     Wash lime, halve the lime, remove seeds and squeeze juice out into a bowl.

2.     Measure sugar using the same size of bowl with ratio of 1:3

3.     Pour juice into pot, add in sugar and stir well and cook in low medium heat.
 

4.     Once the sugar fully melts into juice turn off heat and let it cool before bottle the juice and keep in fridge.

Tips:
Make sure no seed get into the juice else it made the juice turns bitter.
 
桔子浓缩果汁
主料:

桔子汁 1碗,
- 红糖或白糖 -  21/23碗(随你喜好)
消毒瓶子


方法:
1.     清洗桔子,将桔子切一半,取出种子,将果汁挤出一碗。
2.     使用相同尺寸的碗,比例为13测量糖
3.     将果汁倒入锅中,加入糖并搅拌均匀,中低温煮至糖融化。
4.     一旦糖完全融化成浓缩果汁关闭火,让它冷却,然后瓶装进消毒瓶子
5.     并保存在冰箱里
 
温馨提示:
确保没有籽掉进果汁,它会使果汁变得苦涩。
 

Saturday, January 10, 2015

Nyonya Fried Fish with Chili Lime Sauce 娘惹酸柑辣椒煎鱼


Are you bored with just plain deep fried fish recipe? Looking for some extra flavour to spice up the dish?

Sharing below is a simple Nyonya fried fish with mixture of lime juice ( I used Calamansi juice), bird’s eyes chili and seasoning sauce to zest up the flavour.

chililimefishcloseup

After cleaning the fish, do make sure to pat dry the fish with paper towel to avoid water splashes in hot oil.

Once pat dry, marinated the fish with a bit of salt, pepper and dash some corn flour to coat the fish before deep frying it in a hot oiled  wok. Deep fry the fish until crispy texture on the outside but still moist inside. Please refer to this post for ways of deep frying fish.

The Calamansi I used here were plucked freshly from my own garden. The same applied to the bird’s eyes chilies harvested from my neighbor's garden.

You can refer to my green hopes to find out some of the plants and vegetables that I had successfully planted and grew in my tropical garden.

calamansi

However, it was sad to note since my return Malaysia, I did not have any luck in the growing of bird’s eyes chili in my Malaysian garden. The glorious story of my green fingers in the planting of bird’s eyes chili from frozen seeds in Auckland was long gone.Sad smile

If you can’t get Calamansi, which I reckon is not easily available everywhere, you can use lime or lemon to get that sourness required in the sauce.

Instead of pouring the sauce on the fish, you can also make it as a dipping sauce.  This will favour those who can’t take spicy dish, where they still get to enjoy the crispy fried fish.


RECIPE

P1000202


Ingredients:

Fish – 2 medium size whole fish (the smaller the fish easier to deep frying in getting crispy texture)

Dash of salt, pepper and corn flour to marinate

Sauce

Juice from 4-5 calamansi lime

(to your liking on sourness, reduce quantity if using lime or lemon which bigger size)


4-5 bird’s eye chilli, sliced thinly


1 tsp. of sugar
1 tsp. dark soya sauce

1 tbsp. light soya sauce

( This 3 seasoning can be replaced by Indonesian sweet soy sauce – Kicap Manis ABC being used then no sugar and dark soya needed)


1 tbsp. oyster sauce

  1. Deep fried fish in hot oil till crispy and dish up and set aside on a plate discard any excess oil from frying pan with paper towel.
  2. Heat up wok in low heat, add in seasoning sauce and sugar, let it dissolve then add in bird’s eye chilli stir and off heat.
  3. Add in calamansi lime juice and mix well, and taste. Adjust the seasoning accordingly.
  4. Pour the sauce over the deep fried fish and serve hot.

娘惹酸柑辣椒鱼

主料:
鱼 - 2个中等大小的全鱼(较小的鱼更易油煎至口感松脆)
盐,胡椒粉,玉米/太白粉腌

酱料
酸柑汁4-5酸柑粒(根据自己对酸味的喜好)
4-5辣椒仔,切成薄片
适量,糖,老抽,生抽, 蚝油

  1. 在热油中煎鱼,直到香脆盛起,用纸巾吸收任何多余的油后备用。
  2. 用小火烧热锅,加入调味酱和糖,让它溶解,然后加入辣椒仔炒匀。
  3. 熄火加入柑酸柑汁拌匀,口味测试,相应地调整调料。
  4. 倒入辣椒仔酸柑酱在煎鱼上,趁热食用。

Sunday, August 25, 2013

Herbal Napier Grass drinks 马草凉茶

Let’s try a glass of Herbal Drink?
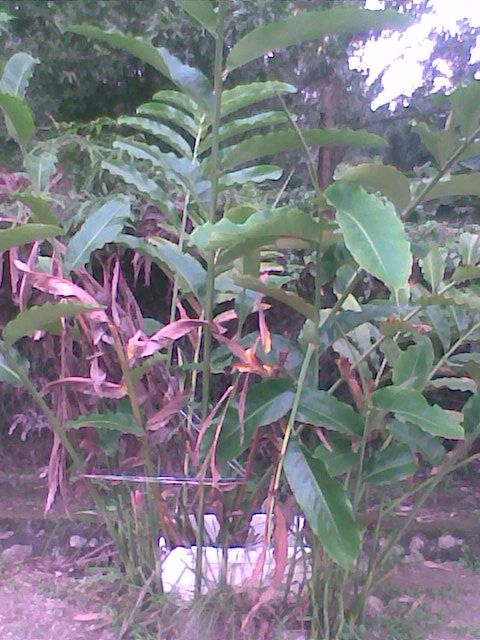
This plant was planted by my neighbour next to my Bunga Kantan. Initially I wanted to clear it, thinking it was weed. Then, my neighbour quickly came to me and told me it was one type of herbal plant used as a great detoxing supplements and consumed as a herbal drink. She later showed me its health benefits as illustrated in a Chinese Herbs magazine. The Chinese name of this plant is 马草, literally translated as “horse grass”. clip_image001
She said this plant was once very popular and widely sought after in Taiwan. It was even made into commercial skin caring juice, with advertisement claiming its effect in treating acne problems.

P1110313

Later, I did some research and discovered the English common name for this plant was Napier Grass. Scientifically its species is Pennisetum and it belongs to Poaceae family. You can find more information on this page.

According to the Chinese wiki, this plant is rich in vitamin C and is claimed to contain the anti-oxidant and even the anti-cancer effects. It is good for treating swelling and easing stomach-ache. After knowing the goodness of the plant, instead of disposing it, I helped her to water the plants regularly.

The normal way to consume the plant is to blend the leaves and extract its juice to drink fresh without heating to prevent oxidization. It is also not advised to blend at higher than 900 rpm or above 50 ℃, as it will destroy its chlorophyll and vitamins.

However, instead of blending into juice which may taste a bit too raw to us, another way to consume it is to boil the grass along with its stalks and added with rock sugar to make into delicious herbal drink! The taste of the drink is very much similar to drinking Bamboo Sugar Cane, really tasty!
Beer anyone?
No, this is the Chinese Herbal Napier Grass drink,
served in a beer mug 马草凉茶 clip_image001[4]
P1110353

 If you happen to find this plant growing wildly somewhere, do try to take some back and try out. It is such a great refreshing and cooling drink especially if you have symptoms of a “heaty” body such as sore throat and acne. Every now and then, I will pluck some to make herbal beverages for my family.

Sunday, July 14, 2013

Calamansi Sour Plum Juice 桔子酸梅汁


Let’s squeeze and Zest up!

Calamansi or Calamondin or Limau Kasturi (in Malay) or 桔子(in Chinese) is a hybrid of lime and orange belonging to the citrus family. Its size is much smaller than lime. Calamansi is best grown in warm weather and is widely found in Southeast Asia, especially in Malaysia, Singapore, Indonesia, and the Philippines.

One and a half year ago, at only RM5, I bought this Calamansi tree in a small pot from a nearby garden nursery and planted it in my vegetable garden. It grew healthily in the garden since then. However, it seemed like ages to see it flower and bear fruits. At the beginning of this year, my neighbour helped me to fertilise the plant with fertiliser that was supposed to encourage plants to flower. After this application, the plant still did not flower as much as we anticipated. It only produced a few flowers and I only managed to harvest one fruit at the end. L
I was kind of disappointed but nevertheless I continued watering it and twice a month applied normal poultry manure fertiliser. Finally, a month ago, we were overwhelmed to see it flowered and produced abundant fruits!  
Calamansi Tree life cycle


 While writing this post I did some research on Calamansi tree. Then only I realised Calamansi tree typically takes 2 years after planting to fruit. This fact, matched exactly with the timing of my tree, which has been nearly 2 years since I planted it.  It’s the time for it to flower and fruit.
 
Calamansi is one of the most common citrus used in Southeast Asian cuisines. In Malaysia, Calamansi (Limau Kasturi) juice is one of the key ingredients added in Sambal belacan and used in Nyonya Food. Other than using its acidity as a natural preservative additive to food, it is also great for making drinks.


Calamansi juice, as a drink, makes one of the best thirst-quenchers. It is best to consume during a heat wave. Even though Calamansi juice tastes acidic and sour but when consumed, they are alkalizing to the stomach, which helps in weight loss and detoxification.  Similar to its citrus family members, Calamansi is rich in vitamin C too and is great for skin whitening.

 Seeing the abundant fruits on the tree, I couldn’t wait to harvest them to make one of my favourite fruit juices which I often order when we dine out.  It’s called Calamansi sour plum juice.

Calamansi juice is one of the popular beverages that is easily available in Malaysia eatery shop.  It is very soothing to the throat, quench thirst and a great remedy for sore throat. This drink also helps digestion and is known for relieving the symptoms of gout.  So, if you happen to get them at your local veggie shop, do give them a squeeze and drink up! It’s a great substitute for lemonade!  
Calamansi Sour Plum Juice 桔子酸梅汁

Sunday, April 14, 2013

Omelette 煎蛋饼


Serving home grown vegetables

Omelette is a recipe which needs no introduction.  A basic omelette is so simple and easy to prepare that a kid can do it. For variations, it can be as simple as eggs, onion and milk mixture to rich cheesy, meat, seafood, vegetables and any combination of your choice.  

Vegetarian Omelette 煎蛋饼
 

To some, it can be a little tricky to cook an entire omelette without folding. The skill in flipping the omelette over to cook both sides evenly without breaking may not be easy to master.

My experience tells me practice makes perfect. The following additional tips would also be of some help.

1.   Recommend to use a non-stick pan with less oil.
2.   Not to put too much eggs mixture:
This is because when egg mixture is too thick, the centre may be too runny resulting in inconsistency in the omelette texture where it can tear easily when flipped.

3.   Cook with medium low heat to avoid the bottom side turning brown before the top centre egg mixture sets.
4.   Only start to tilt the pan when the centre of egg mixture sets.
5.    If omelette too big and too thick to flip, use a bigger plate to cover and slide the omelette cooked side down onto the plate. Invert the pan over the plate, then holding them firmly, turn the plate and pan over together.

Shared below was my healthy vegetarian version with home grown cherry tomatoes and dwarf beans freshly picked from my home garden in Auckland. For more of my Kiwi garden click on My Green hopes.


Friday, July 20, 2012

Lady’s Fingers/Okra 羊角豆/秋葵


From garden to table - Lady’s Fingers/Okra


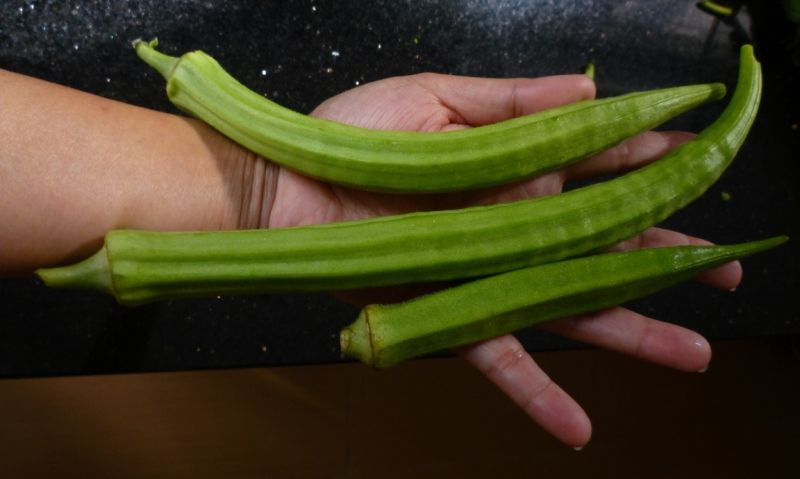
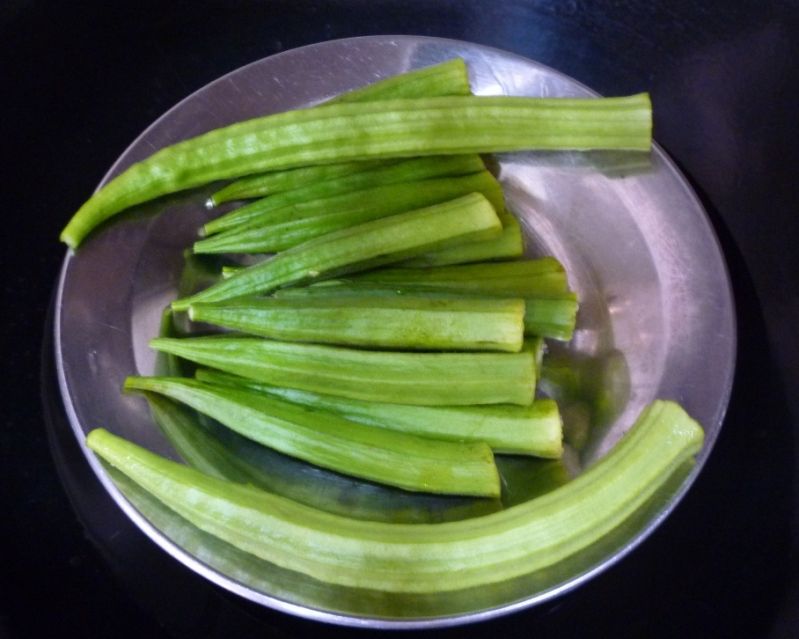
The short one was normal okra purchased from market

Following my previous gardening post, this post I wish to showcase one of my successful crops from my recent gardening experience. The star of the day is Lady’s Fingers /Okra.
This tropical plant with its edible green seed pods is commonly known as "lady's fingers" in South East Asian region. However to the westerners especially in United States they are branded as Okra. Okra has high content of fibre and is also known to be high in antioxidants. It may even be eaten as part of a weight loss diet since it is both fat-free and cholesterol-free. However, some may not like the gooey slime inside of an okra pod. This substance is called "mucilage" which is made up of protein, carbohydrate and fibre molecules.
There are many ways to cook lady’s fingers. In Malaysia okra is commonly used as vegetable ingredients in spicy dishes especially curry, stir-fried with sambal belancan or steamed and eaten as salad with sambal. For the Chinese in Malaysia, other than stir-frying and steaming, we like to stuff fish paste in it and boil with a selection of vegetables and tofu and to be served in soup. We call it Yong Tau Foo, one of the signature dishes of Hakka cuisine. In the Japanese cuisine, deep fried tempura okra is another easy recipe to make.
Both hubby and I love lady’s fingers; it is one of our “must buy” in our weekly marketing list. When I resumed my gardening interest, one of the plants that I wanted to grow was Okra. Ten over years ago, I planted Okra in our front yard and it was a huge success. We always harvested more than we could consume and had to give away to friends and neighbours.
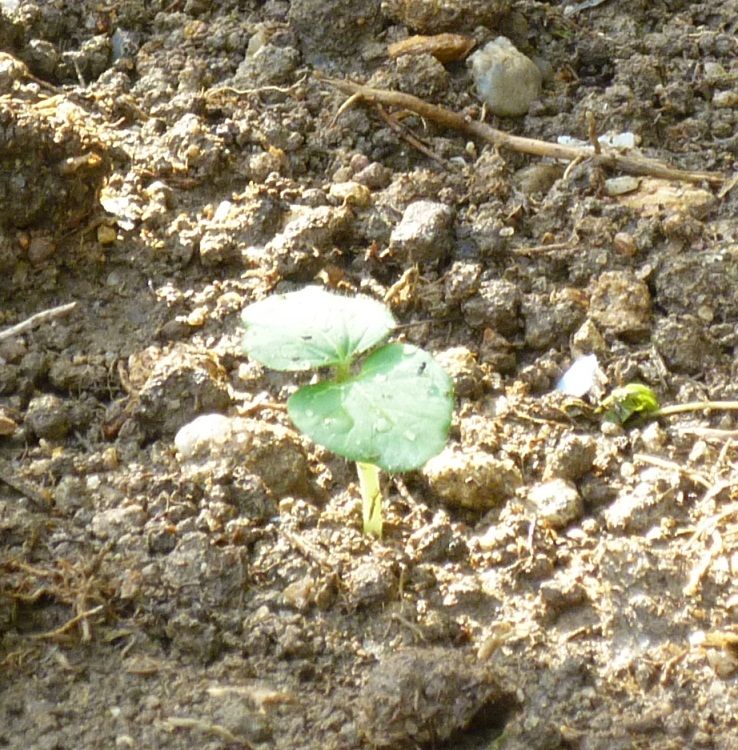
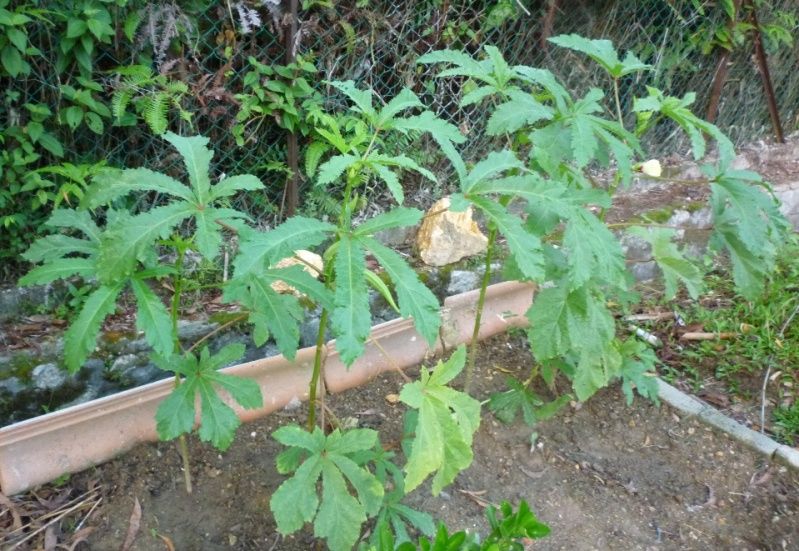
I was so pleased when one of my neighbours, an old former farmer offered his okra seeds to me when he saw me clearing and plowing the plot of land into garden bed a few months ago. I told him I wanted to cultivate a piece of own homegrown vegetables and herbs garden. In supporting my wills, he shared about 8 of his okra seeds with me and some with my next door Auntie who is also a gardening lover. Three of us, started to plant the seeds at about the same time. After a week, out of the 8 seeds, 6 germinated but only 4 survived, my successful rate was about 50%.

When I checked with my neighbours, I was surprised to learn from the ex-farmer neighbor that he only had 4 survived out of 30 seeds he planted. Even worse for the lady neighbour, none of her okra seeds survived! I guessed I should be very proud of my result! J
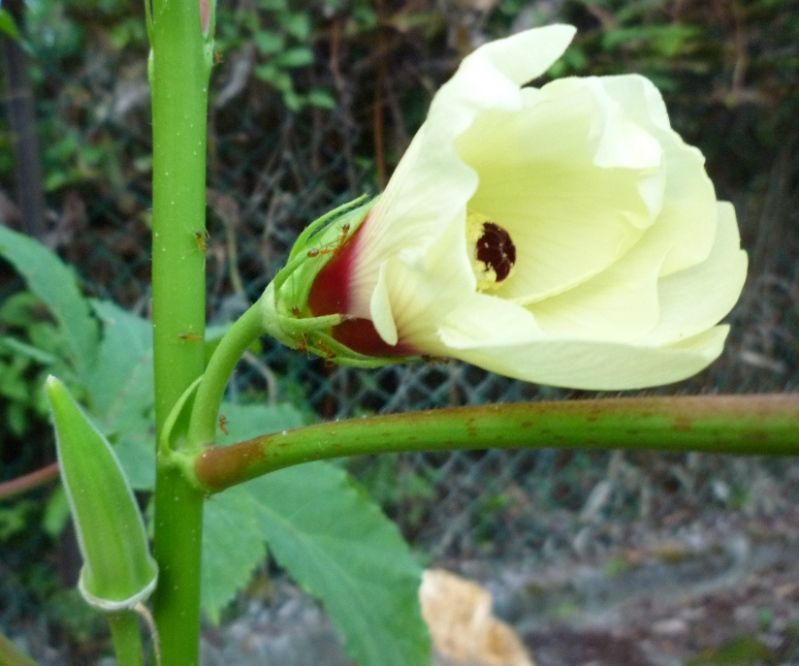
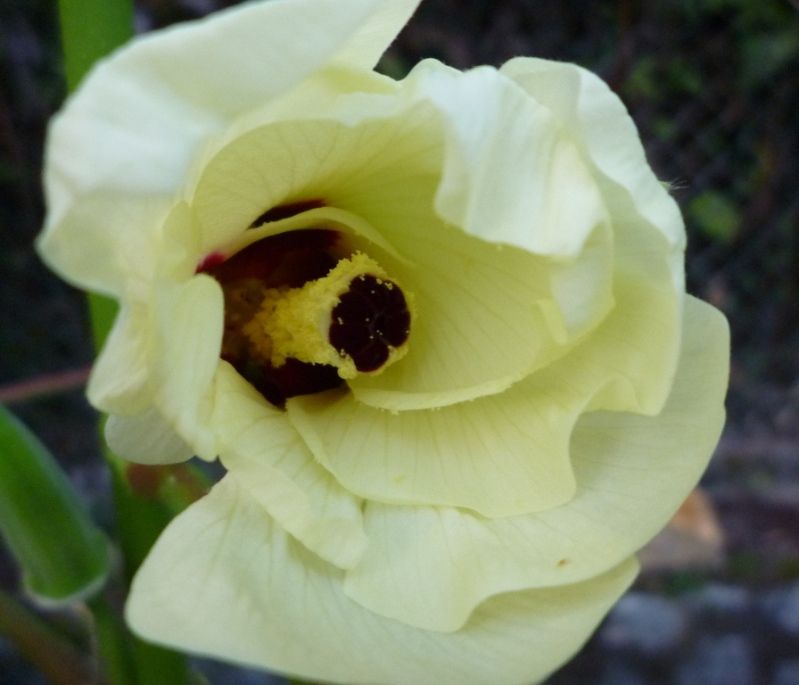
Okra flower and new pod

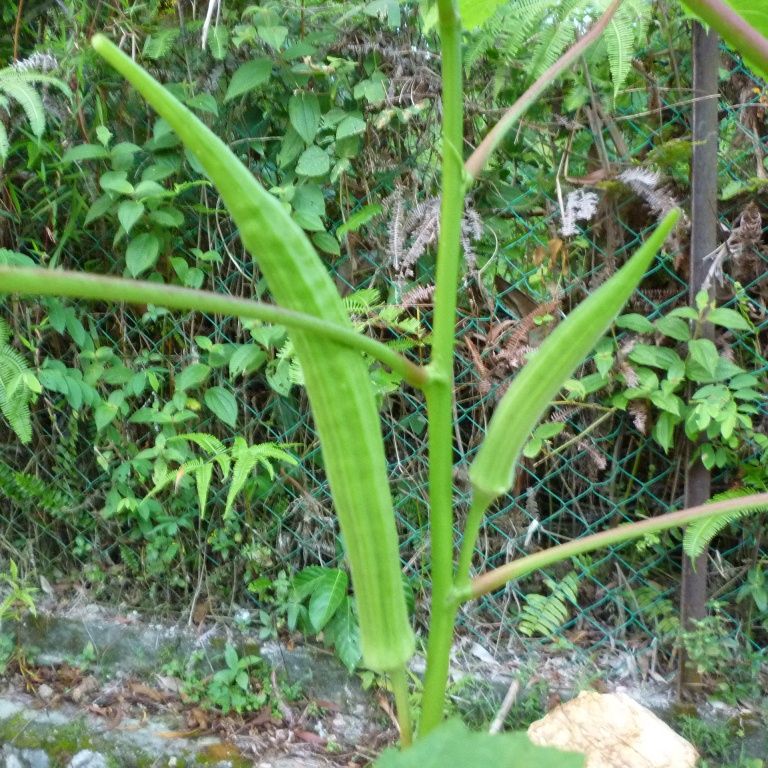
The okra I planted is longer breed, 2 times longer than normal type purchased from market

The 2 longer okra/lady fingers harvested from my garden


Time to get the harvested crops to the table!


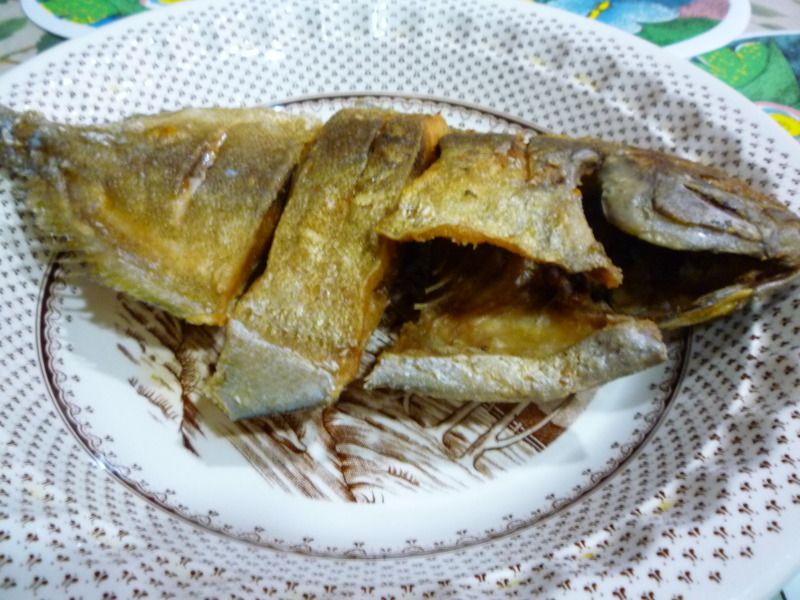
A pan fried fish

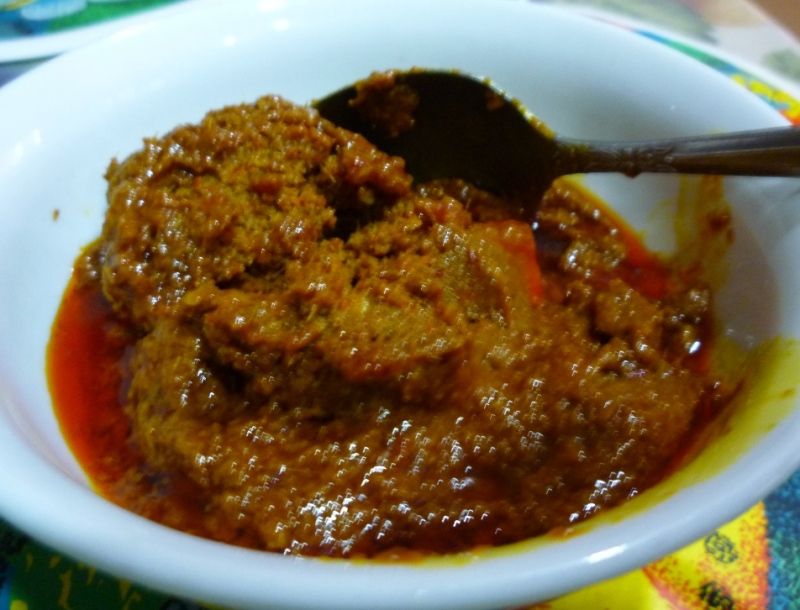
Curry paste - click to get the recipe

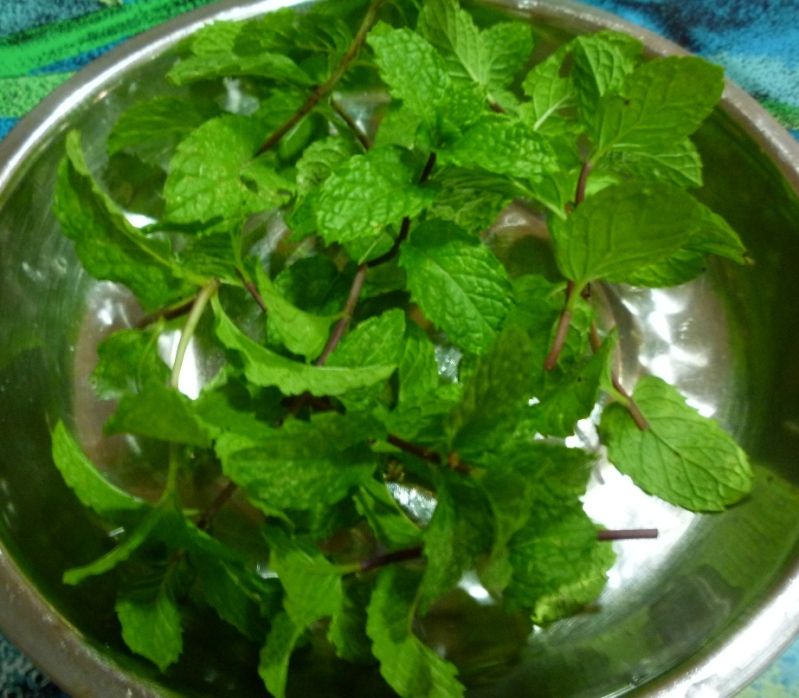
Fresh mint leaves from garden to garnish

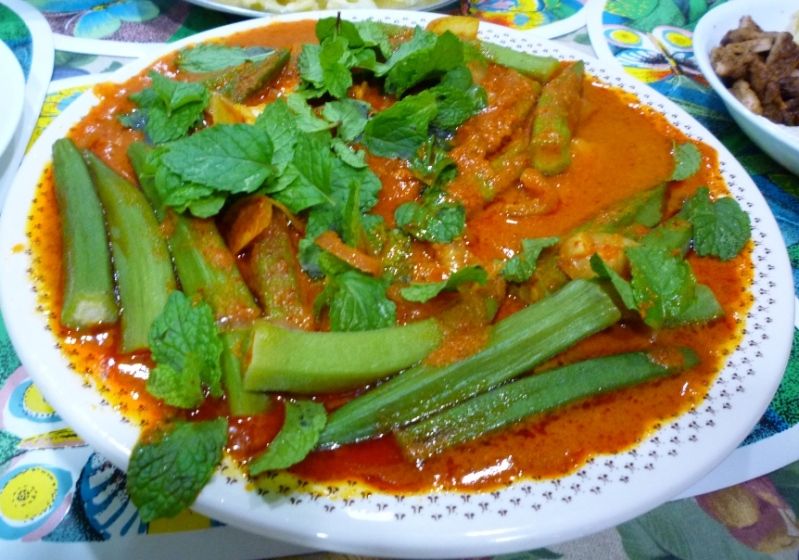
Curry fish with steam okra/lady fingers

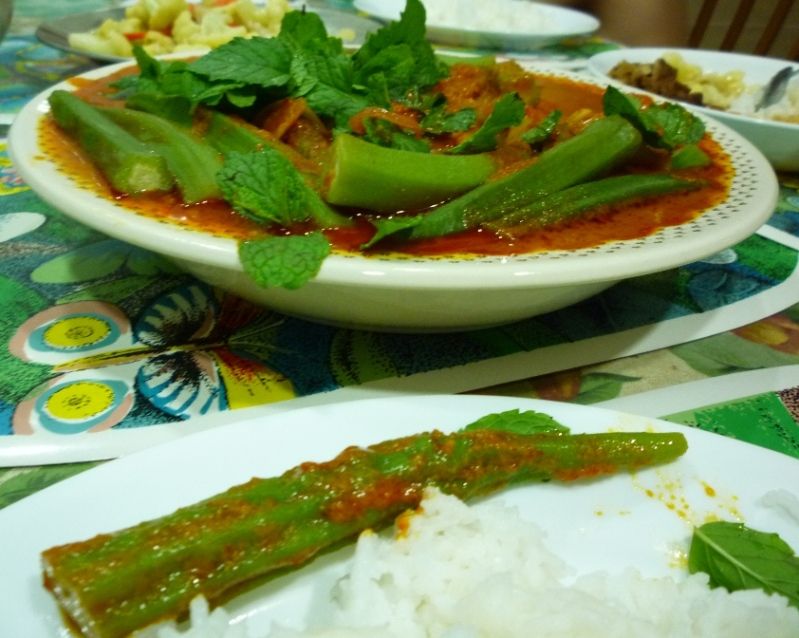
Serve with white rice, let's eat!

Sunday, April 29, 2012

Bunga Kantan (Torch Ginger Flower Bud) 姜花

From garden to table

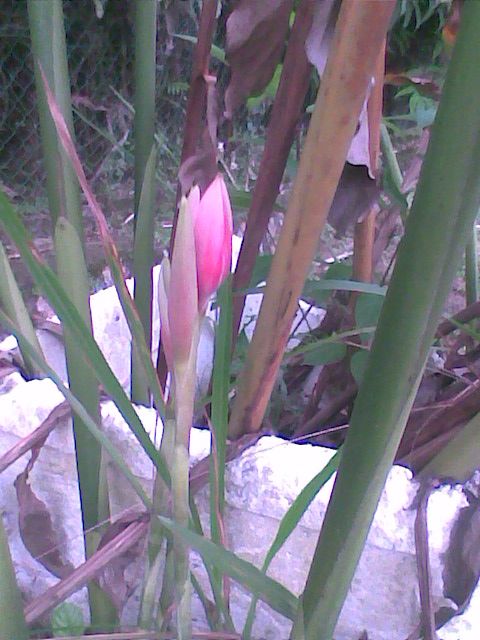
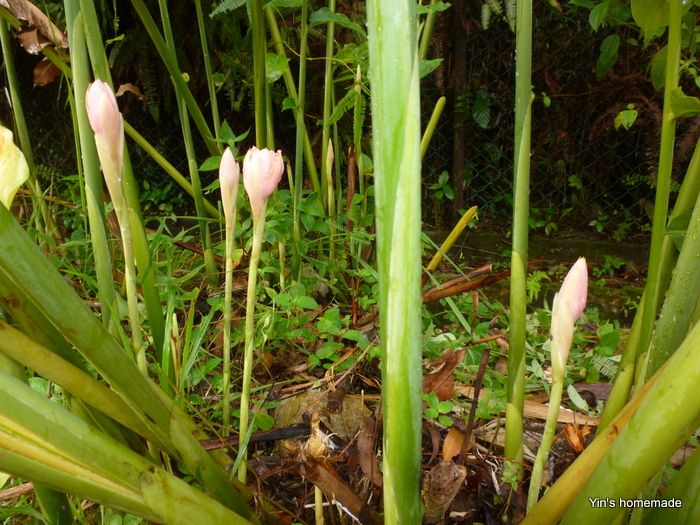
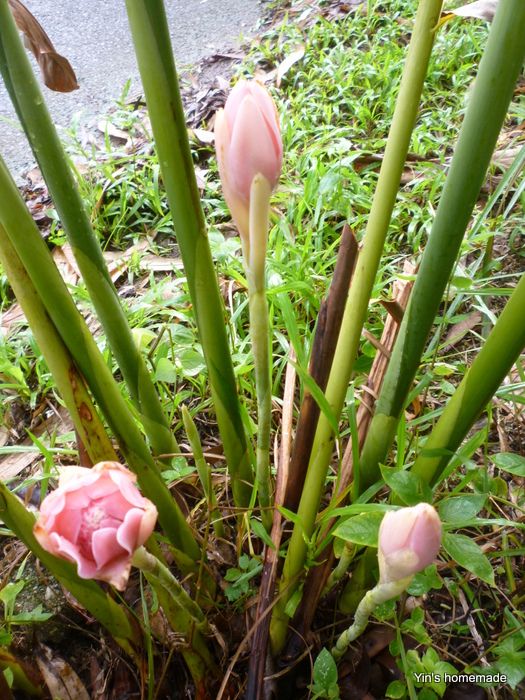
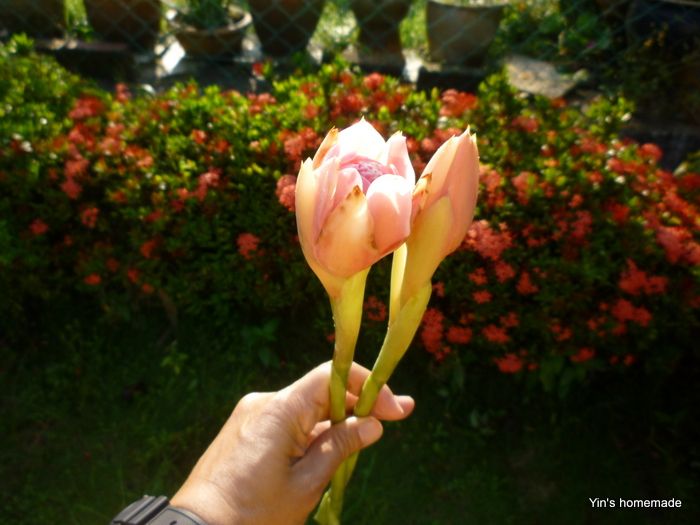
Etlingera Elatior, the scientific name for TorchGinger Flower, or Bunga Kantan in Malay and 姜花 in Chinese, is a type of tropical flower commonly found in South East Asia. Its pink flower bud is particularly important to be used as a spice ingredient in Malay and Nyonya cuisine, with its distinctive, aromatic fragrance to zest up curry and seafood stews i.e. Tomyam and Laksa.
Over here, we also call it Laksa flower (Bunga Laksa in Malay), since it is used in the famous Penang Nyonya Assam Laksa. In addition to Laksa, it is also widely used in Malay, Nyonya and Thai fruit salad i.e. Rojak or Kerabu.

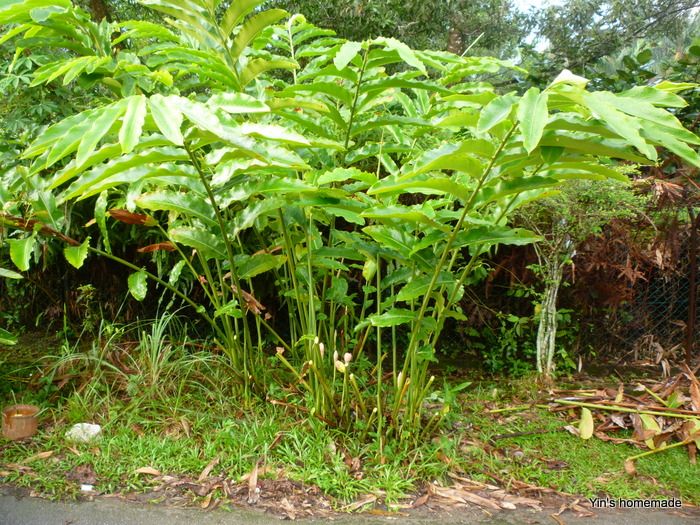
We had this flower planted opposite our house by my late mother-in-law a year before she passed away in 2008. It took more than a year to flower. The leave stalks and flower stalks grow out from an underground stem and the flower plant can grow over 4 meters in height. It requires larger space and is not suitable to be planted in a pot. I didn’t place much attention on it and just let it grew wildly. When we were about to leave for NZ in mid 2009, we got to see it just started to flower.
Taken in year 2009
First flowr
By the time we came back from NZ, we were surprised to see it still grew healthily and flowered so well.
About 4 years old trees - April 2011
Flowers grew wildly
Harvest to use
When I was in Auckland, instead of fresh buds we were lucky enough to be able to find frozen ginger flower buds from certain Asian grocery shops, as I knew many people could hardly find it in European countries and the US.

To use Bunga Kantan, we only take its bud and chuck the stalk.
TorchGinger Flower, or Bunga Kantan
Few ways in using the buds in cooking:
First slice bud into half or quarter and place into curry/gulai/tomyam
 to cook to flavour the soup.

Flower bud to add in curry, gulai or tomyam soup

or you can also opt to finely shred the whole bud and use for garnishing or adding into Kerabu or fruit salad

Tuesday, March 8, 2011

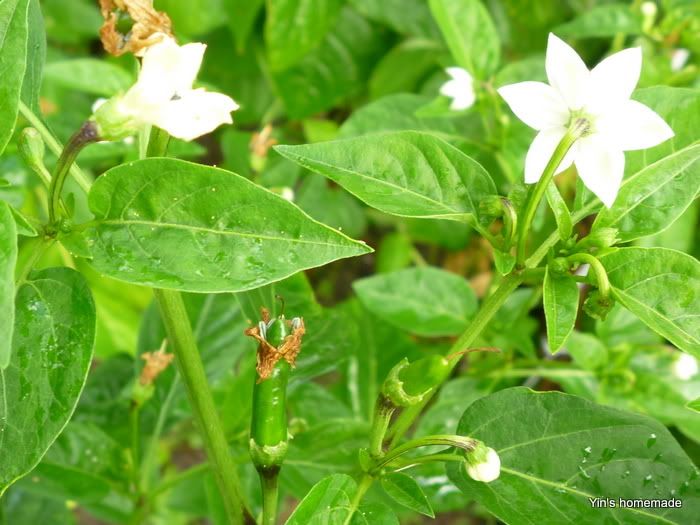
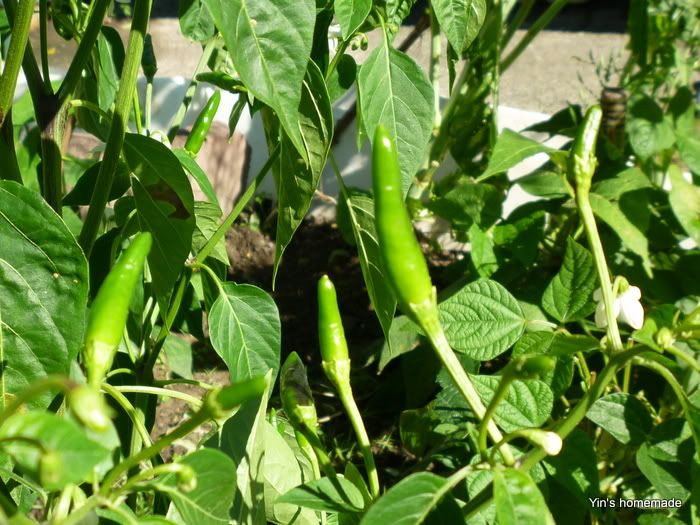
Bird’s Eye Chilies 指天椒


Spice up in garden and kitchen

When I first moved to Auckland, the vegetable that I couldn't get over was chilies. The fresh chilies here were so expensive costing nearly $1 for a single big red chili. Furthermore, these fresh chilies were not spicy enough and did not give the kick I was used to. I suppose this was largely due to the cold climate here as chili likes hot climate. Then I discovered frozen chilies were far cheaper than the fresh ones. To try out I bought a packet of bird eye's chilies which were imported from Vietnam.

I like to eat noodles with chilies. So, I tested out these chilies by making simple soya sauce with chilies dipping sauce. I took out 3 small chilies and cut into tiny pieces and soak with soya sauce. At first, I was a bit skeptical whether the frozen chilies could give much spiciness. But when I just ate a spoonful of noodles with a tiny chili piece in it, I could already felt the hot burning effect on my tongue! Frankly, I was a person that could eat really hot spicy food and this chili to me was really HOT! I gave a thumb up for it. If anyone is looking for hot chilies then bird eye's chilies from Vietnam is my recommendation.

Kiwis have strong eco-friendly awareness. Seeing almost every household garden produces some fresh food for own use, I too embarked on a gardening journey. As mentioned in my green hopes page, most of my plants were grown from seedlings given by my friends and landlady. Once I saw my garden began to grow and flourish, it gave me much confidence that I might have the required green fingers to do more. With that, I challenged myself to grow more plants from seeds.
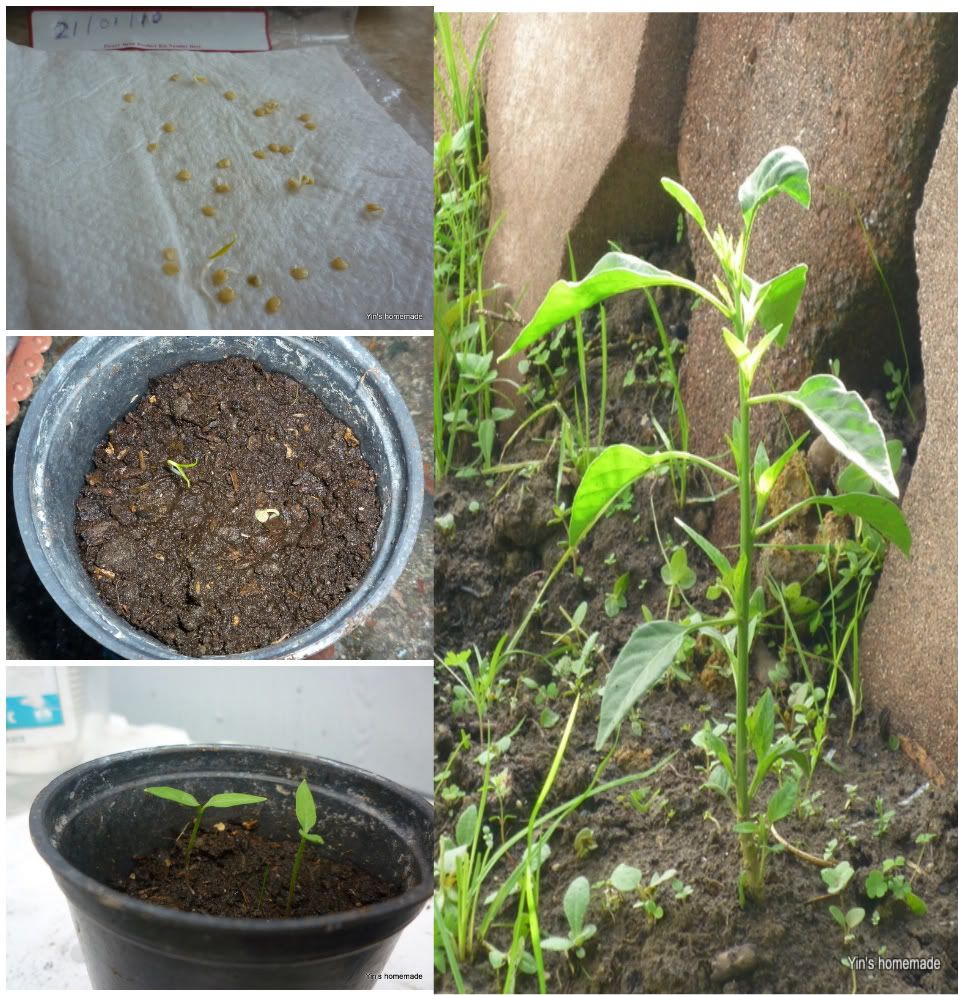
 I began to surf internet on gardening and ways to sow seeds. Then I came across a video clip showing a great way to sow seeds by using damp towel paper. This method allows you to see the seeds germinate before transferring them into soil which was more encouraging than planting straight into the soil and not knowing whether the seeds were good enough to germinate. After seeing the video clip, it gave me an idea to try out sowing the frozen Vietnamese chilies seeds since I liked the chilies so much.
 On 21/01/2010, I took out about a dozen seeds from a frozen chili and spread them on a damp kitchen towel paper. Then I placed the paper into a zip lock bag and inflated the bag by blowing some air into it before sealing it up. As chili seeds needed warm spot to germinate, I kept the bag on top of the boiler in the water boiler room to ensure constant warm temperature. After 10 days (normal seeds germination period was 8-10 days), I was really overwhelmed to see out of dozen odd seeds, 2 of the seeds did germinate. I did not have high hope on these seedlings because they might have been frozen for quite a long time already.


From 01/2010 to 12/2010
Seeing the seeds started to sprout, I carefully transferred them into a small pot and carefully watered them using the rice water rinsed from the cleaning of rice in my daily rice cooking. This rice water had nutrients and a great source of organic fertilizer, some knowledge I acquired from my mother. When I was young, I used to see her watering our garden using the water she collected after cleaning fish and rinsing rice. She seldom used commercial fertilizer but our garden thrived as if the plants had been well fertilized.

However, the sowing timing was not right; I was s a bit too late in sowing the chilies. Warmth is the biggest key in successfully germinating the chili. By the time these chilies started to sprout and grew in February, the weather had started to chill. With the weather turned chilly, these two chili plants seemed stagnant in their growth even though I placed them in warm sunny spot on my balcony. Nevertheless, I didn't give up on them and kept watering them. One of the chili plants kept growing but another did not and remained at about 3 inches height only and did not seem very hopeful.

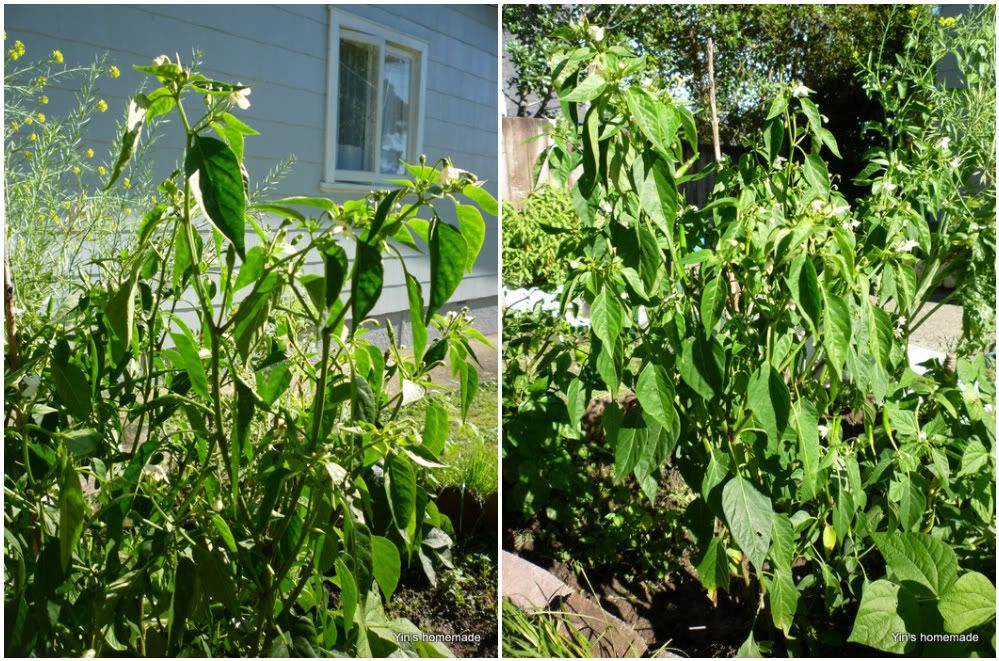
Finally when the winter was over and after my landlord revamped our back yard in December 2010, I started to cultivate another new veggie garden. Seeing the two plants had not grown much in the pots, I decided to give a final try by removing these chili seedlings from the pots and transferring them to ground. To my surprise, the bigger seedling didn't survive but the smaller seedling which I thought couldn't survive grew healthier and healthier and it even flourished and fruited by this summer!

02/2010
Fruited @ 03/2010

It turned out that of my 2 years gardening experience in the Kiwi land, this Vietnamese bird's eye chili tree is one of my most successful plants that I had planted. It has taken me nearly a year to grow from a frozen seed to now a full grown chili tree. J

Saturday, January 1, 2011

Home Grown Dwarf French Beans


Garden to table - Dwarf French Beans

This spring, my landlord decided to redo the backyard landscape which affected my little garden that I had cultivated since last year. I was forced to do dig out all my old plants and started off a new garden. Now, I was so pleased to see my new garden growing so well again. All the vegetables lettuces, herbs and beans seeds that I sowed in spring have grown healthily.


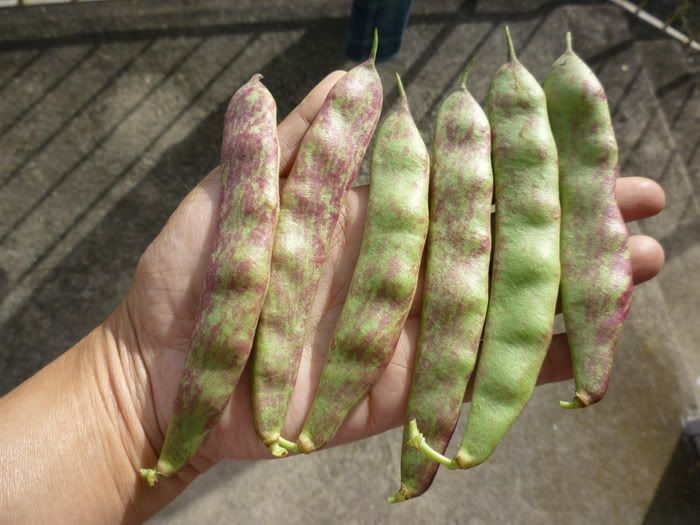
The various dwarf French beans seeds we got free from Ambury Farm, finally flowered and fruited. Other than yellow beans, this time there are two new types of beans that successfully grown in my garden, one of them is dark purple bean (Dwarf Bean – Amethyst) and also flat green reddish beans (Shell Cranberry bean 'Lingua di Fuoco' (Tongue of Fire).
Shell Cranberry bean 'Lingua di Fuoco' (Tongue of Fire)

Yesterday, I harvested some of them. I knew they were still young to pluck but since we are going for a long vacation to South Island, so I couldn't wait to try them thinking they might be too old for us to eat when we return. Regardless their original beans color once they were cooked they all turned into green color, nonetheless they were really crunchy and tasty to eat.

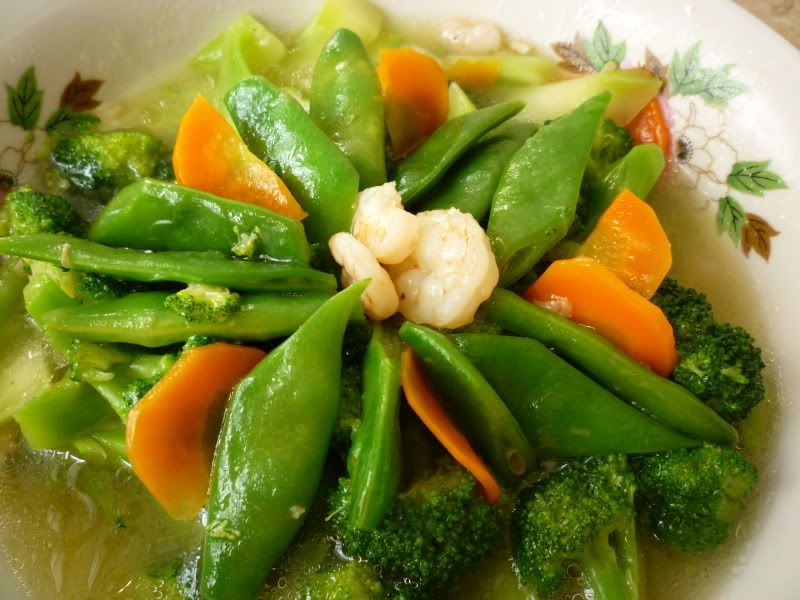
Since only a small bunch of beans being harvested which not enough to make into one dish, I mixed them with broccoli and carrots and came out with this simple fast stir fried mix vegetables dish for our dinner.

Stir fry Shell Cranberry beans n broccoli
Stir fry Shell Cranberry beans & broccoli
INGREDIENTS: (Serves 3)
1 head of Broccoli -Discard broccoli stalks; thinly slice florets vertically
Shell Cranberry beans - slice into 1/3 length
1/4 Carrots - sliced
1 tbsp chopped garlic
6-9 pc prawns cutlets
100ml stock/plain water
3 tbsp Cooking/Vegetable oil
Cornstarch mixture (about ½ tbsp cornstarch mixed with 2 tbsp water)
Seasoning:
1 tsp salt (to your taste)
½ tsp sugar (to your taste)
Chicken stock powder (optional)

METHOD:
  1. Give prawns a rinse, then brine (just enough to cover) 5 minutes before cook, drain.
  2. Wash broccoli, carrots, beans and sliced.
  3. Heat oil on high and sauté garlic till fragrant, add in broccoli, toss a while then followed by Shell Cranberry beans and carrots. Stir to coat all with oil.
  4. Stir fry for 2 minutes until beans turn vibrant green; add in seasoning then stock/plain water.
  5. Toss in prawn, give a few quick stir about another 2 minutes or until prawns turn pink.
  6. Taste test before thicken with corn starch and serve

Friday, November 19, 2010

Steamed Snapper with Ginger and Spring Onions姜葱蒸鲷鱼- Featured in Group Recipes


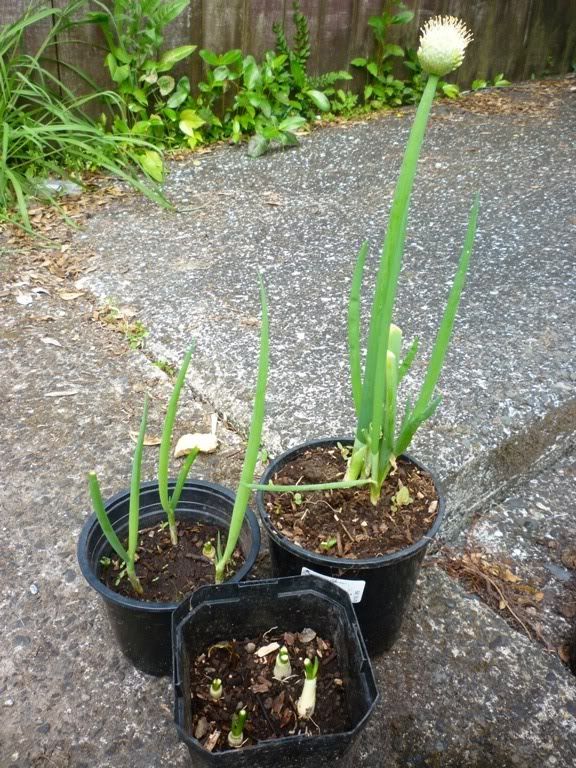
Garden to table – Spring Onions
Weather getting warmer by the day, meaning fishing season has started. In other words, more keen anglers' are heading out to fish. Fringe benefit of knowing keen anglers means more chances to enjoy free and fresh supplies of seafood.

Thanks to my dear friend Ellen, we got to enjoy fresh snapper for dinner tonight. The fish tasted so fresh and delicious even though I only used simple ingredients like soy sauce, ginger and fresh spring onion from my garden J

In my opinion, the best way of cooking fresh fish is just simply steaming it. This simple and healthy fish recipe takes less than 15 minutes to cook.

Steamed Snapper with Ginger and Spring Onions姜葱蒸鲷鱼
繼續閱讀中英对照食谱

LinkWithin

Related Posts with Thumbnails