Showing posts with label Mooncake. Show all posts

Thursday, September 15, 2016

Moon Cakes Festival 2016


Today is 15th day of the 8th month of the lunar calendar which is the full moon day for Chinese to celebrate Mid Autumn Festival aka Moon Cakes Festival.

As usual I would to take this opportunity to wish all my families, relatives, friends and readers happy, joyful reunion with your love ones and stay healthy.

一季祈祷,一月祝福,一日快乐,一时开心,一分甜蜜,一秒成就,制成一个个团团圆圆的月饼,借着这里,祝你们中秋节快乐!


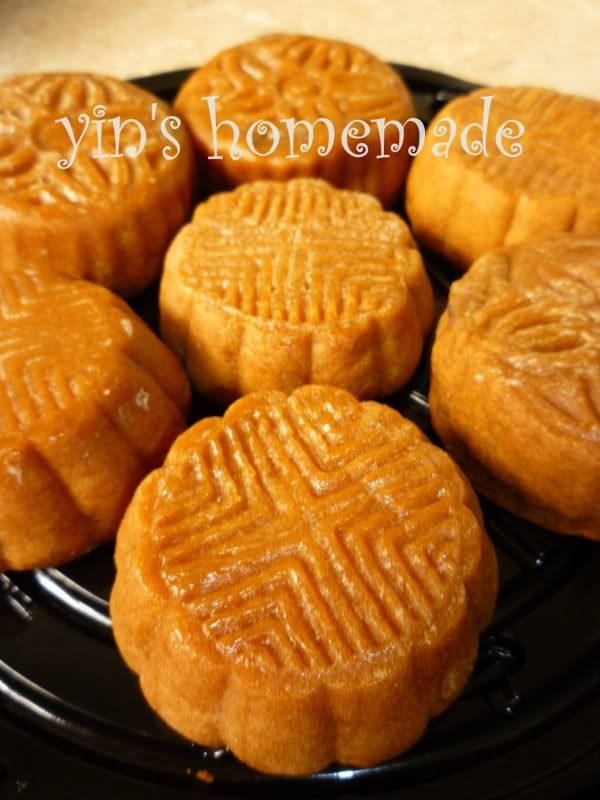
This year, I tried out this simple traditional baked moon cake recipe which I have adopted from famous food blogger Christine's Recipes.

Check out her detail steps by clicking this link.

Other than the traditional moon cakes, link to my non baked moon cake recipes Here

Sunday, October 27, 2013

Homemade Golden Syrup

Lately, I had to admit that I was a bit lax in blogging again. I used to update my blog during weekends. However since I signed up to participate in the Penang Bridge International Marathon on November 17th, weekends were never the same any more. With a full time job, weekend was the only time for long distance running training. After the long run training, what’s left in my mind was only to get my body lying down on the cosy sofa and turned myself into a couch potato doing nothing for the rest of the day .

This post was supposed to be published last month coinciding with the mid autumn festival theme but I was too worn out to blog it until now. Following the series of moon cake recipes covering from the basics of making moon cake dough to moon cake fillings like Yam/taro, Red bean and Mung Bean,  now is time to learn to make another key ingredient – the Golden syrup.

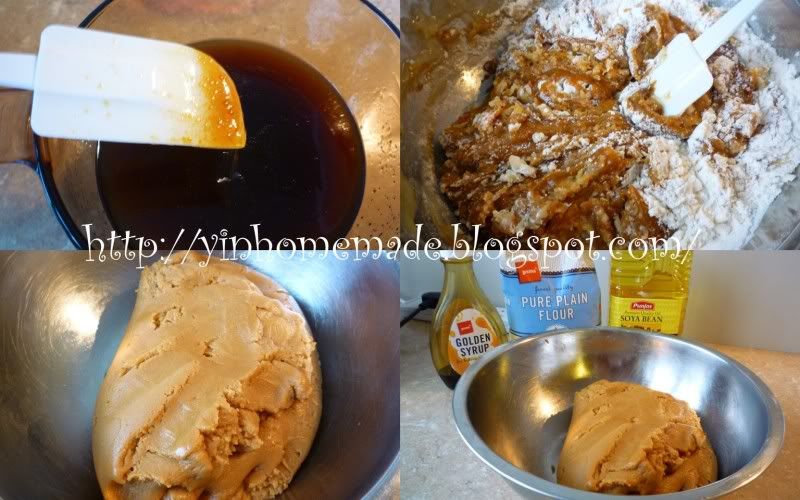
Instead of buying ready-made golden syrup, I opted to make my own with recipe adapted from Agnes Chang’s moon cake series. This completes the recipe for making 100% homemade moon cake. I started making this syrup 2 weeks before mid- autumn festival. However, it is even better if you can start making the syrup a few months ahead as the syrup can easily last a year or more.

This golden syrup is good for use in any baking or cooking that calls for golden syrup in place of the commercial ones.


P1110575
Initially, I did not have a good start in the syrup making. I was not attentive enough during the cooking stage and got the syrup overcooked. On top of that, I was fooled by the consistency of the syrup when it was still hot. The syrup looked runny but when it cooled down, it became really sticky and as hard as caramel candy!

Nevertheless, after some online research, I cross referred to Christine Golden Syrup recipe to save the failed syrup which I thought was a waste. Following her advice, I added more water and lemon juice and re-boiled the syrup again to eventually get the right fluid consistency for the golden syrup.   

P1110566
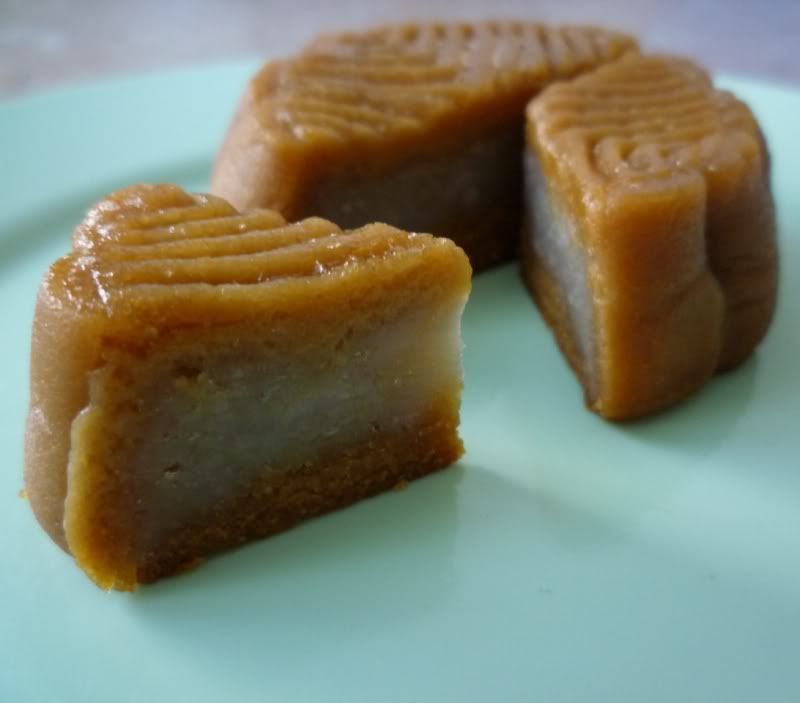
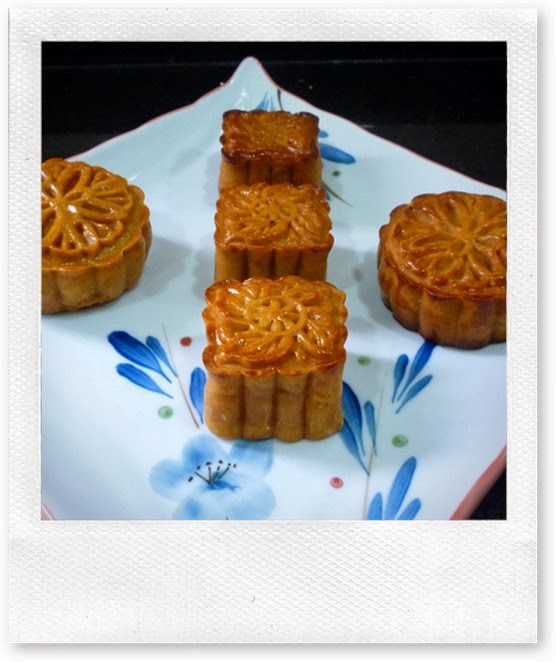
The moon cakes that I made using my homemade golden syrup.
P1110664
The moon cakes which I couriered back to my dad.P1110740

Wednesday, September 18, 2013

Easy-to-make Snow Skin Mooncake

Happy Mid-Autumn Festival
Mid-Autumn Festival is just around the corner on 19th September 2013. Are you busy looking for some simple recipe for mooncake? Well, try this really simple Snow Skin Mooncake recipe! Snow skin mooncake tastes similar to Japanese Mochi.
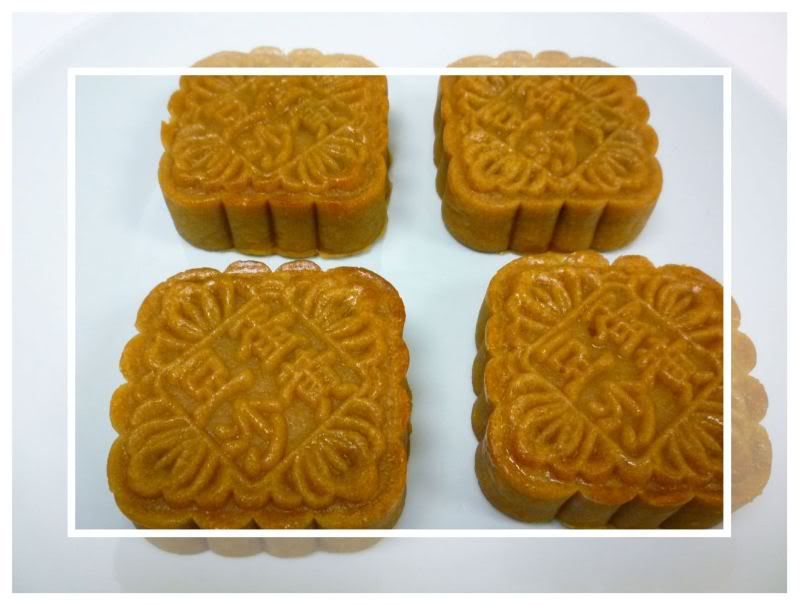
 As a follow up to my previous blog post featuring traditional Snow Skin Mooncake recipe obtained from my good friend Helen, here’s another variety adopted from Y3K cookbook which is so easy and the result is so presentable that a novice cook can easily impress!  P1110736
Only 4 major ingredients are needed for this recipe - cooked glutinous rice flour (Gao Fen), icing sugar, shortening and water. In addition, don’t forget to get one cute little mooncake mould to make your favourite shape. This year, I bought myself another small mini square mooncake mould.

However Auntie Lan commented that it was best to use round-shaped mould, so as to symbolize reunion/unity, as in the case of the big round full moon in this mid autumn evening “月圆人团圆”

snowskin _mooncake collage

 If you wish to have a more authentic version of the homemade mooncake, you can also try to make your own fillings such as Taru/Yam paste, mung bean paste, red bean paste which I introduced before. Click on the links to get to the old blog posts for the recipe.

P1110750
Coconut Milk Mung Bean paste filling

I had shared these mini mooncakes with my colleagues in the office.


Saturday, September 29, 2012

Mung bean Paste 綠豆蓉餡


HAPPY MOONCAKE FESTIVAL 中秋节快乐!
mooncake
In advance of the mid autumn festival (a.k.a. mooncake festival) tomorrow,I would like to take this opportunity to wish all my friends, relatives and readers a happy moon cake festival and happy reunion with your family.
To the Chinese, especially those staying away from their home town, the mid autumn festival (八月十五中秋节)is a big day for them to rush back to get together and celebrate with family members. The Chinese believe full moon symbolises reunion (月圆庆团圆).
This year, I had made both types of moon cakes, traditional baked moon cakes and snow skin moon cakes. (Click to access my old posts on moon cake making).
I had made 3 types of fillings which were Taro paste, red bean paste and mung bean paste. For the first two, I had already covered in previous posts. Just click on the words to lead you to the posts.
I brought these moon cakes and shared with my colleagues in the office a few days ago:
2012mooncakemaking
In conjunction with this happy occasion, I’m going to introduce another traditional moon cake fillings that I had used for my homemade moon cakes this year – Mung Bean Paste.
Mung bean is more widely known as green bean in South East Asia. As the name suggests, they are green in colour but when their skins are removed, Mung beans are light yellow in colour.
P1090586
Mung Bean 綠豆

When these green beans are left to germinate and grow in water for days, they become “bean sprouts”, a type of vegetable that is commonly used for stir-frying, salad and soup in many Asian cuisine.
Check out my old post of Stir-fry Bean Sprouts with Prawn cutlets 豆芽炒虾球 this is a super fast and easy stir fry vegetable recipe.

Similar to red beans, Mung beans are also widely used in Chinese cuisine especially as dessert filling when made into paste form.
For the recipe I shared, I didn’t specify the measured quantity in details but merely sharing the major ingredients.  Usage ratio is very much depending on the flexibility of own taste preference.
The result of my mung bean paste was a bit dry and crumby. To have a finer texture I recommend to blend it further with a blender just like the red bean paste method. If you wish to have creamier and more flavourful texture, I recommend to substitute water with milk or coconut cream but for weight watchers it's better to stick to water.Smile

P1090590
Mung Bean Paste 綠豆蓉餡

Tuesday, September 21, 2010

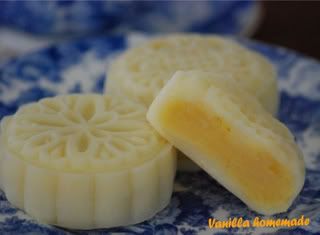
Snowy Mooncakes 冰皮月饼


Follow up on my mooncakes series, this is another famous type of mooncakes Snowy Mooncakes 冰皮月饼 which originated from Hong Kong back in early 1980s. This mooncake is much easier to make, no baking is required and you can straight away put in your mouth once you have finished molding the filling into the mooncakes dough!

Credit goes to Helen again on her recipe and photo sharing. Tomorrow is Mooncakes Festival, you still have time to do your homemade Snowy Mooncakes as it can be ready in less than 2 hours time.  (Move mouse over the photo to see more )
Snowy Mooncake
Helen's Snowy Mooncakes @ 21/09/2010

Friday, September 17, 2010

Mooncakes 豆沙莲蓉月饼


Next Wednesday 22/09/2010 will be Mooncake festival which also known as mid autumn festival 中秋节. In fact, local Asian shops started selling moon cake a month ago. I was a bit surprised that mooncakes are  easily available here in Auckland. However, the price was not cheap, but since we are not keen moon cake eaters, we do not miss much at all.

It didn't cross my mind to learn up mooncake making at all not until Helen brought her homemade mini mooncakes for us to taste. Her homemade vegetarian mooncake was really delicious and when I read her recipe, the making process was not that complicated after all.

So, I suggested having a fun moon cake making at my house when I host cooking club lunch sharing on yesterday, Thursday 16/09/2010. After I dropped off Ming Ray to school, I started to made the pastry 2 hours before hand. When Master Chef Helen and the rest of 8 others cooking members came for lunch, we were ready to process the mooncakes. We made 2 types of mooncakes one was the traditional baked type and another was Snowy mooncakes 冰皮月.

In this article I only shared traditional baked mooncakes, the snowy mooncakes 冰皮月 will follow later. Credit goes to Helen for her time and recipes sharing with us. Check out Helen's master pieces which I took for her @ 06/09/2010 and those we made at our house, you can noticed what a huge different right?

I have not taste the mooncakes yet, cause the mooncakes need to rest for at least 3 days before serving to allow the oil to sip back. Fingers crossed they will taste as yummy as what Helen served us last week, I will update this Sunday :-)
Freshly baked @ 16/09/2010 (Can't eat till Sunday 19/09/2010)

Updates 20/09/2010:
Just ate one of the mooncake with taro fillings , Ming Ray had his with red bean paste which he thought was chocolate hahaha... I had given out 15 of them to friends :-)


Mooncakes 豆沙莲蓉月饼

Ingredients:

Plain flour 600g
Cooking oil 200g 180g
( I had reduced the oil , as I found original recipe a bit too oily and dough too soft to mould)
Golden syrup 360g
Lye water (gan shui) 2tsp
1 egg for glazing (lightly beaten)


Fillings:
Red bean or mung bean paste or
Lotus seed paste

Optional choice, you can also add salty egg yolks if you like.


Method
Pastry:
  1. Combine golden syrup , lye water and oil together.
  2. Sift flour, make a well and pour syrup mixture into it.
  3. Mix well and set for 2 hours.

  4. Scale pastry and filling into one of the following ratio,the ration much depends on the size of your mould and your liking.
    45g: 50g (The photo showed is 45g: 50g)
    50g: 70g,
    30g: 60g
  5. Coat pastry over the filling, dust with flour and put into mould, press and knock out.
  6. Pre-heat oven and bake at 200ºC for 5 minutes.
  7. Remove from oven and glaze with beaten egg. Do not over-brush with egg on top of the moon cake as it might affect the design on its surface. (I had this problem, some of the mooncakes not so nice due to this)
  8. Change oven heat down to 150 ºC and bake for 15 minutes. Immediately take it out.
  9. Keep in container and leave to set for 2-3 days before serving.

材料:
面粉600克
食油200克
糖浆360克
碱水2茶匙
鸡蛋1个 (打散)


馅料
红豆或绿豆粘或莲蓉
如果你喜欢,你也可以加入咸蛋黄,


方法

皮馅作法:

把糖浆,水,油和碱水搅拌一起。
筛面粉,倒入糖浆搅拌均匀,搁置2小时。

以下皮馅和馅料的比例取决于你的模具和你喜欢的大小

45克:50克(照片显示是45:50克)
50克:70克,
30克:60克

将每份面团压扁,放入豆馅,将面皮用虎口慢慢向上推至收口
月饼模撒入薄薄一层面粉,将包好馅料的面团压入模子中,左右敲打一次,便可将成形的月饼打出。预热烤箱200º C 摄氏, 放进烤5分钟。取出用毛刷轻轻刷上一层调好的蛋汁再放入烤箱。烤箱的温度减少到150℃,再烘烤15分钟。立即取出来。
静置2-3天才可以吃

LinkWithin

Related Posts with Thumbnails