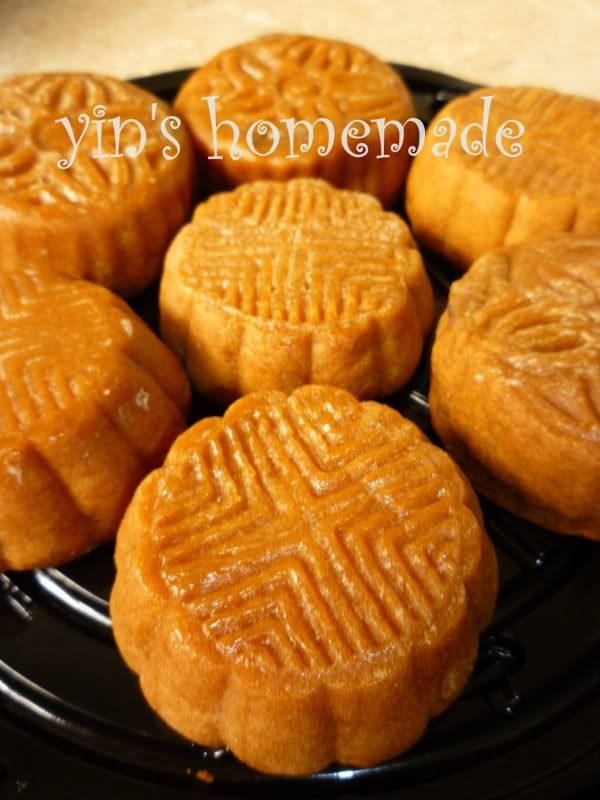
Next Wednesday 22/09/2010 will be Mooncake festival which also known as mid autumn festival 中秋节. In fact, local Asian shops started selling moon cake a month ago. I was a bit surprised that mooncakes are easily available here in Auckland. However, the price was not cheap, but since we are not keen moon cake eaters, we do not miss much at all.
It didn't cross my mind to learn up mooncake making at all not until Helen brought her homemade mini mooncakes for us to taste. Her homemade vegetarian mooncake was really delicious and when I read her recipe, the making process was not that complicated after all.
So, I suggested having a fun moon cake making at my house when I host cooking club lunch sharing on yesterday, Thursday 16/09/2010. After I dropped off Ming Ray to school, I started to made the pastry 2 hours before hand. When Master Chef Helen and the rest of 8 others cooking members came for lunch, we were ready to process the mooncakes. We made 2 types of mooncakes one was the traditional baked type and another was Snowy mooncakes 冰皮月饼.
In this article I only shared traditional baked mooncakes, the snowy mooncakes 冰皮月饼 will follow later. Credit goes to Helen for her time and recipes sharing with us. Check out Helen's master pieces which I took for her @ 06/09/2010 and those we made at our house, you can noticed what a huge different right?
I have not taste the mooncakes yet, cause the mooncakes need to rest for at least 3 days before serving to allow the oil to sip back. Fingers crossed they will taste as yummy as what Helen served us last week, I will update this Sunday :-)
 |
| Freshly baked @ 16/09/2010 (Can't eat till Sunday 19/09/2010) |
Just ate one of the mooncake with taro fillings , Ming Ray had his with red bean paste which he thought was chocolate hahaha... I had given out 15 of them to friends :-)
Mooncakes 豆沙莲蓉月饼
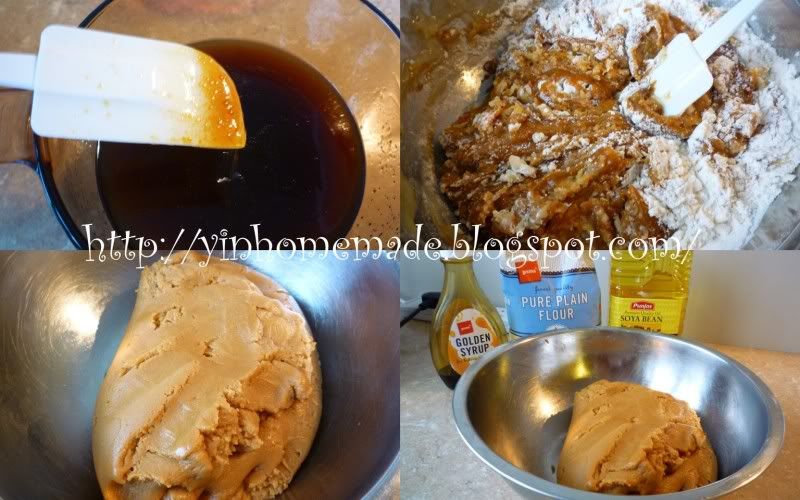
Ingredients: Plain flour 600g Cooking oil ( I had reduced the oil , as I found original recipe a bit too oily and dough too soft to mould) Golden syrup 360g Lye water (gan shui) 2tsp 1 egg for glazing (lightly beaten) Fillings: Red bean or mung bean paste or Lotus seed paste Optional choice, you can also add salty egg yolks if you like. Method Pastry:
材料: 面粉600克 食油200克 糖浆360克 碱水2茶匙 鸡蛋1个 (打散) 馅料: 红豆或绿豆粘或莲蓉 如果你喜欢,你也可以加入咸蛋黄, 方法 皮馅作法: 把糖浆,水,油和碱水搅拌一起。 筛面粉,倒入糖浆搅拌均匀,搁置2小时。 以下皮馅和馅料的比例取决于你的模具和你喜欢的大小 45克:50克(照片显示是45:50克) 50克:70克, 30克:60克 将每份面团压扁,放入豆馅,将面皮用虎口慢慢向上推至收口。 月饼模撒入薄薄一层面粉,将包好馅料的面团压入模子中,左右敲打一次,便可将成形的月饼打出。预热烤箱200º C 摄氏, 放进烤5分钟。取出用毛刷轻轻刷上一层调好的蛋汁再放入烤箱。烤箱的温度减少到150℃,再烘烤15分钟。立即取出来。 静置2-3天才可以吃。 |


that looks so nice! your very talented :)
ReplyDeleteThanks for following my blog, nice to see you start blogging too. Hope to see you again.
ReplyDeleteHi I live in Auckland and I want to make mooncakes too !
ReplyDeleteCan I ask where you bought your mooncake mould from? Thanks