It has been a while since I last baked. Part of the reason was work while another was the condition of our house that underwent a major renovation for an extended period of time.
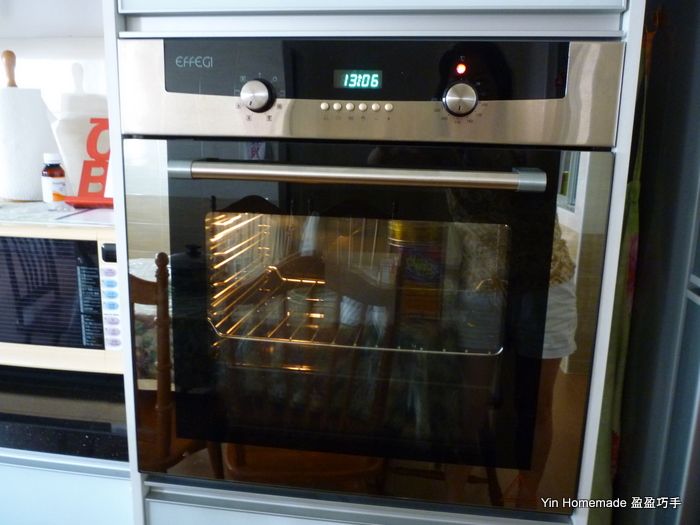
I was waiting to get the new kitchen ready with a new oven before I could start to try out new baking recipes. However, it took us more than 4 months to get the house ready before I could put on an apron to try out a new oven in a whole new revamped kitchen.
I was waiting to get the new kitchen ready with a new oven before I could start to try out new baking recipes. However, it took us more than 4 months to get the house ready before I could put on an apron to try out a new oven in a whole new revamped kitchen.
I was quite excited waiting to play with this kitchen new toy, thinking that I could finally retire my little desktop oven and shelved it in a storage room. However, to my disappointment the very moment I switched on the oven, it tripped the power supply to the entire house! It took another few weeks for us to arrange for warranty claim and technical support to fix and reinstall the oven before I got to use it again.
Finally, we had a pilot by baking Vanilla muffins last month; Ming Ray was the main master chef in coming up with a successful batch of baking from the oven.
Finally, we had a pilot by baking Vanilla muffins last month; Ming Ray was the main master chef in coming up with a successful batch of baking from the oven.
Subsequently, that night I used it for my signature roast pork. The pork was a bit burnt out, as I was still trying to play around with the oven temperature. This new oven was a bit more sophisticated than the one I used in Auckland. It had more heating functions, more choices of heating elements and if desired the option to turn on a fan to help circulate the heat inside the oven. I was not familiar with it initially, definitely far more complicated than my little desktop oven! J
Last weekend, I finally made my 1st loaf of bread in 2012. This was another recipe adapted from Tangzhong (water-roux) bread from Taiwan famous baker 孟老师的100道面包. If you’ve been following my blog you would know Tangzhong was one of my favourite bread baking method which guaranteed a soft and fluffy bread texture.
Actually this was not a new recipe to me, I did try this recipe back in Auckland in 2010, however it was a failure back then. (Read the post mortem report here). This time, I didn’t follow the recipe exactly; I had made minor adjustments because some of the ingredients required was not available in my pantry. I left out cheddar cheese while making Tangzhong, I didn’t mix in chocolate chips and also replaced a portion of high protein flour with wholemeal flour. I wanted to get rid of the balance of 30g wholemeal flour which I had on hand.
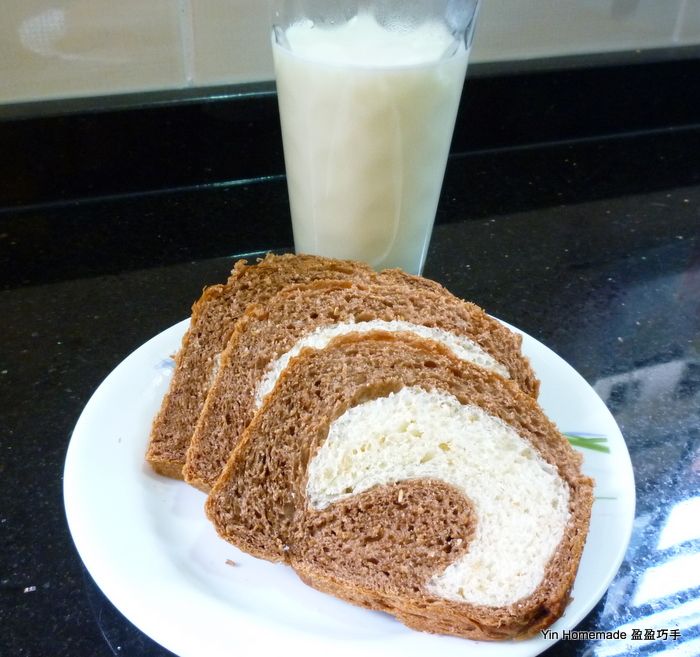
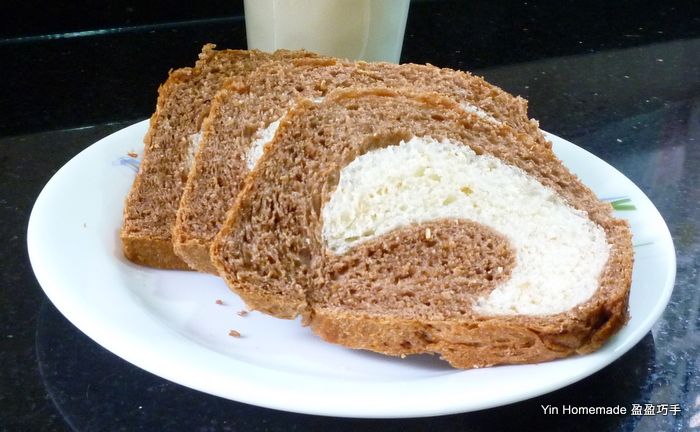
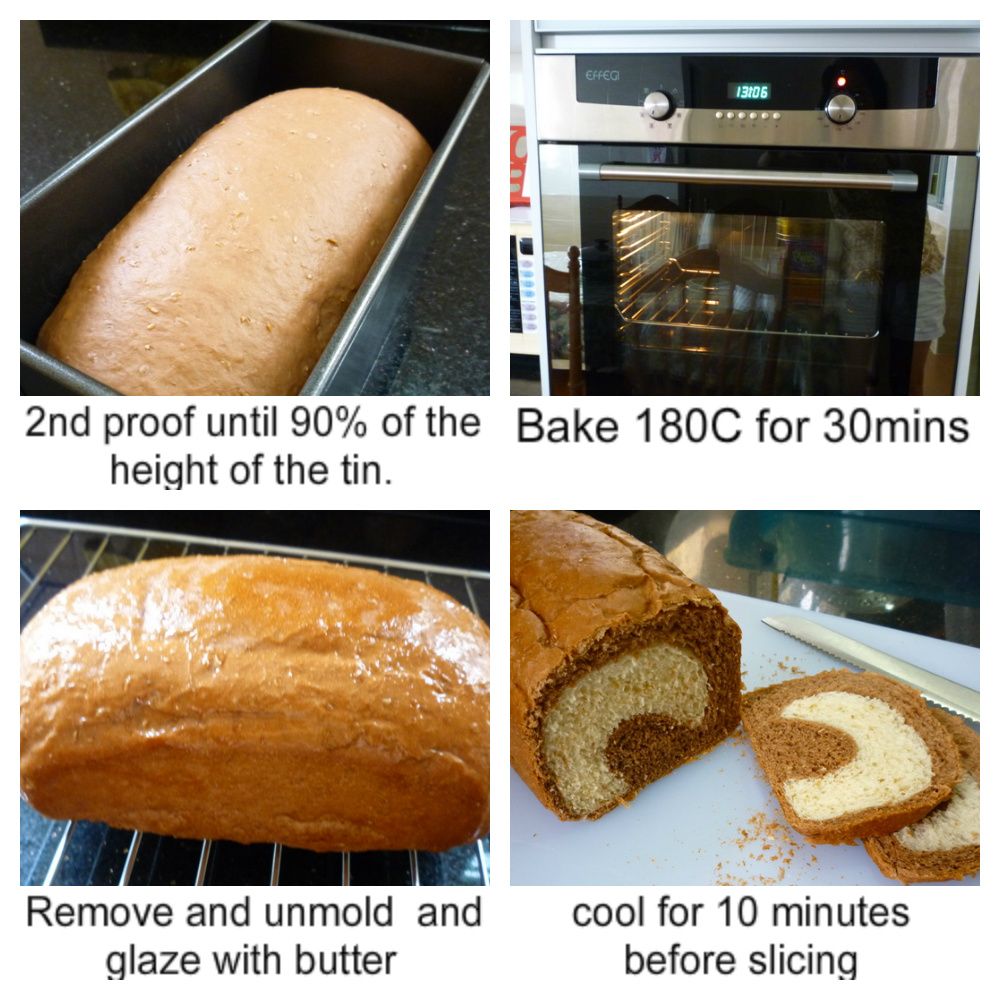
Nevertheless, when I saw the dough rise nicely, I knew these minor adjustments wouldn’t matter much. True enough, the bread came out nicely, soft and fluffy and the brown and white swirl of marble look effect gave great color combination.
Overall, the bread tasted not as sweet as expected as I didn’t place any chocolate chips. The sweetness of the bread depends on the kind of chocolate chips added in and the coco powder used. If milk chocolate chips or sweet coco powder is used, it will be sweeter. I found even if it was not sweet it was still good to eat on its own. J
|
Wholemeal Chocolate Marble Swirl Toast Bread
Ingredient:
(A) 1 slice Cheddar sandwich cheese ( I didn’t put in because I ran out of stock) 70g fresh milk 20g bread flour (high protein flour) (B) 260g bread flour ( I replaced part of the flour with 30g wholemeal flour)
40g caster sugar
1/4 tsp. salt 1 tsp. (4g) instant yeast 130g water (C) 20g butter (D) 25g chocolate chips ( I didn’t add this) 2 tablespoons cocoa powder 1 tablespoon water
(Make into coco paste)
Method:
1) Tear Cheddar cheese into pieces. In a saucepan, over very low hear melt the shredded cheese with the milk. Stir till the cheese is melted. Add in the 20g of bread flour and stir quickly until flour mixture becomes thicker and form impression. Let cool. Cover and chill in the fridge for at least 60mins. (I did a night before and left in fridge.)
2) Place Step 1 water roux starter together with the rest of the B ingredients in a mixing bowl and mix and knead into dough.
3) Once form smooth dough, add in Ingredient C butter and continue to knead the dough until dough develops into elastic form.
4) Takes out about 200g (white dough) from the dough and place in separate bowl.
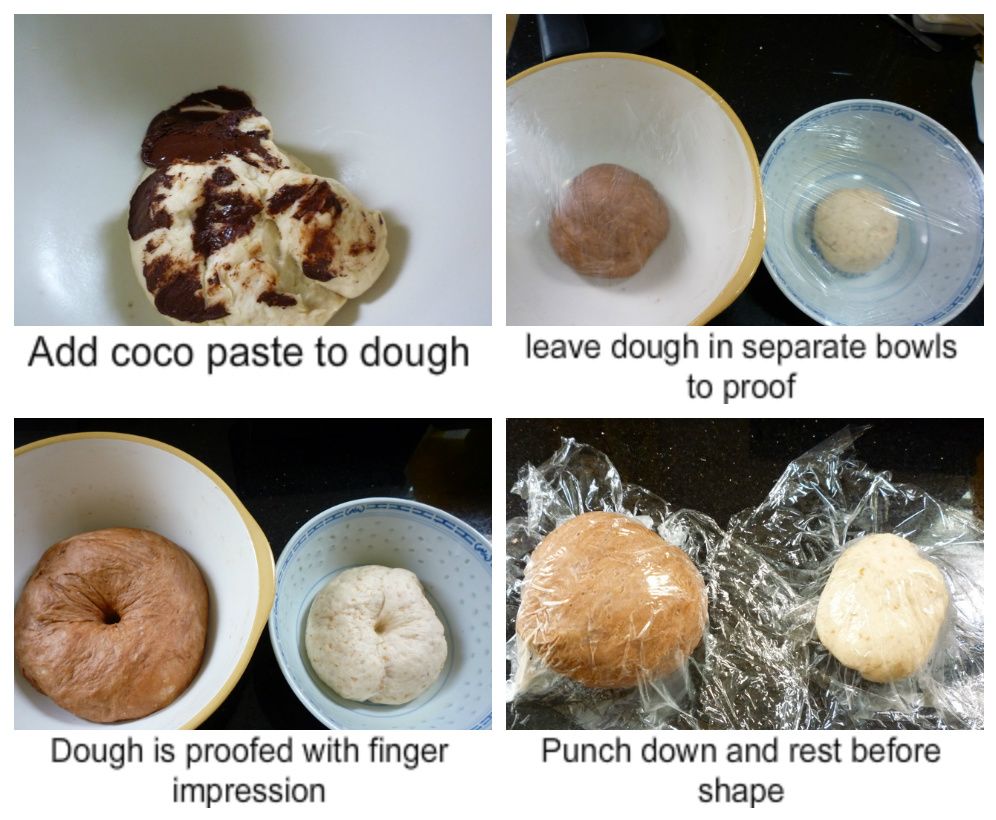
5) Add cocoa paste (ingredient D) into the balance dough and further knead to have the coco paste complete blend into dough to form coco color dough.
6) At separate bowl manually knead in the chocolate chips into the dough that was removed from the original mixing bowl. (I omitted the chocolate chips and skipped this step)
7) Place 2 dough in 2 separate mixing bowls, cover with cling wrap and let them rise till double in volume, about 80mins.
8) Test the dough by finger test, if impressions remain, dough is proofed.
9) Remove dough and punch down to remove trapped air as your knead. Shape into balls and cover with cling wrap, let the dough rest for 15mins.
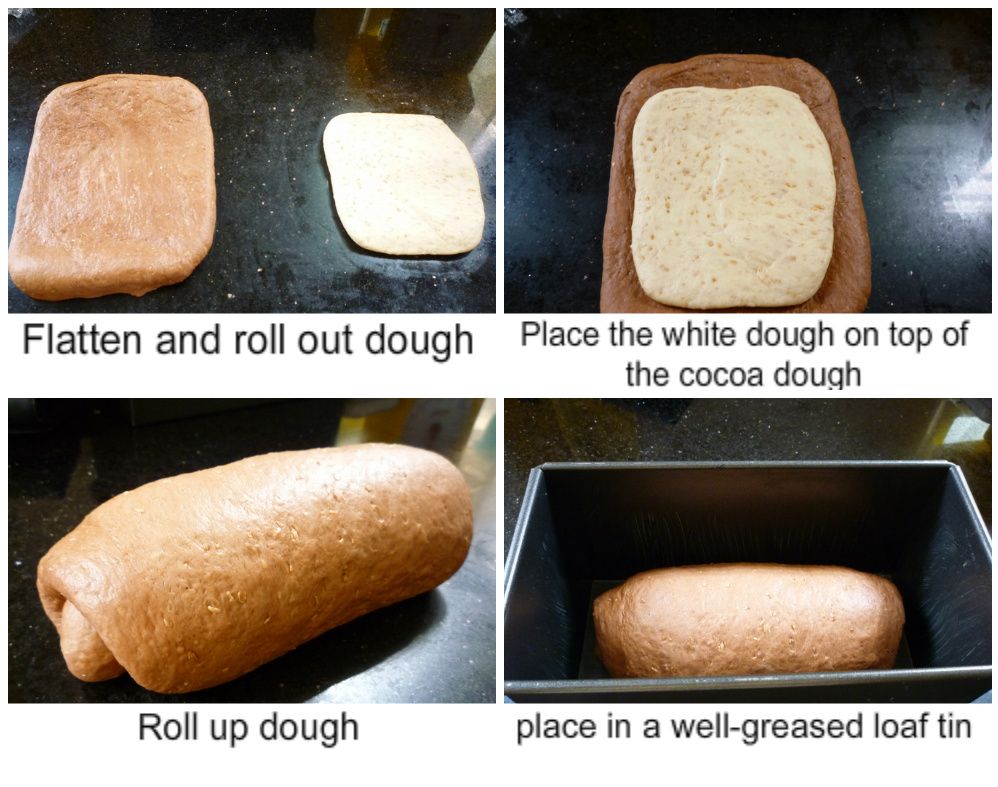
10) Flatten and roll out the cocoa dough into a 20cm square, and the chocolate chips dough into a 16cm square. Place the chocolate chips dough on top of the cocoa dough.
12) Cover the lid and let dough go thru 2nd proof for 60mins or until the dough rise up to 90% of the height of the tin.
13) Bake at preheated oven at 180-190 degree C for about 30mins.
14) Remove from oven and unmold immediately.
15) Glaze with butter and cover with cloth to cool for at least 10 minutes before slicing.
可可双色土司
材料:
B) 主面团:
高筋面粉260克,
细砂糖40克,
盐1/4小匙,
奶粉10克,
干酵母4克 (1小匙),
水130克
C) 牛油20克
D) 耐高温巧克力豆15克,
可可粉2大匙, 水1大匙
做法:
1.汤种面团中的材料搅匀后边加热边搅拌成糊,放凉后入冰箱冷藏1小时以上。
2.主面团中除牛油、巧克力豆和可可粉外的所有材料依顺序放入面包桶揉20分钟后加入 溶化牛油再揉40分钟至完全扩展阶段。 3.取出面团分出200g加入巧克力豆揉匀。 4.另一份面团加入可可粉和2大勺水揉匀后分别进行基本发酵80分钟至2倍大。 5.基本发酵好后滚圆松驰15分钟分别擀成20cm(可可面团)和16cm(白面团)的正方形,白色的放在可可方形的中间卷起放入刷过油的土司模中。 6.进行最后发酵60分钟至九分满。 7.烤箱预热180-190,烤盘放在中下层保证土司在烤箱中间,30分钟。
8. 从烤箱中取出,并立即脱模.
9. 涂牛油,并用布覆盖至少10分钟待冷却,然后再切片. |


Hi Yin,
ReplyDeleteI can understand from what you have shared on work and the renovation of your house but sure that new oven though did have some issues is simply superb.
Thats a lovely bread you have done and love that contrast of colors with the brown and white inside.
I am hoping to see more baking skills from you and I bet you will come up with other delicious recipes.
Nava:
ReplyDeleteThanks, keeping my fingers cross to squeeze out the time to bake more. :-)
I could feel the frustration waiting to try that oven...
ReplyDeleteIt's a superb oven indeed and very sophisticated by just the looks of it.
The bread looks nice as well but I will prefer it to have a little more sweet so going to try it with some chocolate chips which kids love.
Hi Rawfoodhaven:
DeleteThanks for visiting. Agreed, to turn into kids flavour, chocolate chips seem to be a must ingredient then. :-)
Custard batter
ReplyDeleteHi Yin
I find the egg yolk custard roux gives better result instead of water roux. I made bread using the former method and I had never failed to bake a successful loaf. Yesterday, I just made a loaf using yolk custard roux and I even omitted the butter and reduce the sugar amount from 30 g to 1 tablesppoon and the load turned out tall and fluffy soft. I spreaded kaya over the slices of bread this morning and the sweetness of the kaya more than compensates the not so sweet bread. Good for those who want less sugar and fat in their basic bread so that they can have options of other toppings anyway they like on the bread for varity.
Blessings
Priscilla Poh
Priscilla:
DeleteYes, I do agreed with you. In fact one of my favourite Tangzhong is the custard tangzhong which used egg. That recipe never failed me. Check out:
http://yinhomemade.blogspot.com/2011/05/custard-fluffy-bread.html