
Raya lunch Celebration
Last week, I received an invitation from my finance team members to join their pot luck lunch on Monday in the office in celebration of Raya Adilfitri (Muslim New Year). I happily accepted the invitation and even offered to bring one of my specialties to support their function. But later I realized that I would not have time to prepare fancy dishes in the morning, as I started work as early as 8am.
And so I struggled to think of what party food that could be easily prepared in advance, best the night before and its taste could be sustained when brought to the office the next morning for reheating or served cold during lunch time.
After cracking my head, I concluded dessert is the best answer. Yes, dessert could be prepared in advance and easily stored up to a day or two without compromising its quality. I came out with this simple no bake cheesecake, which was just ideal for this function.
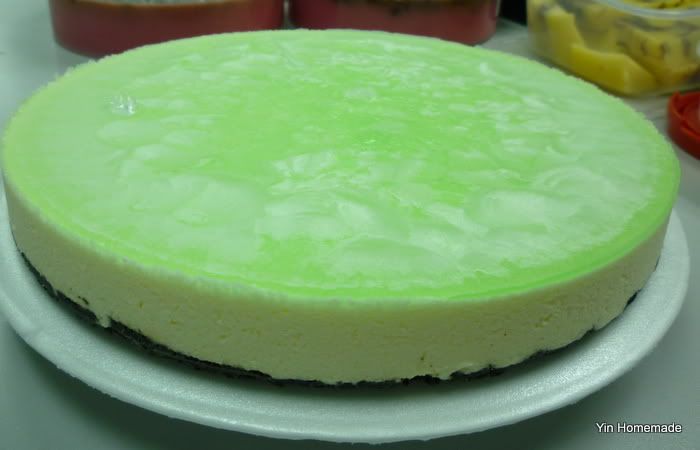
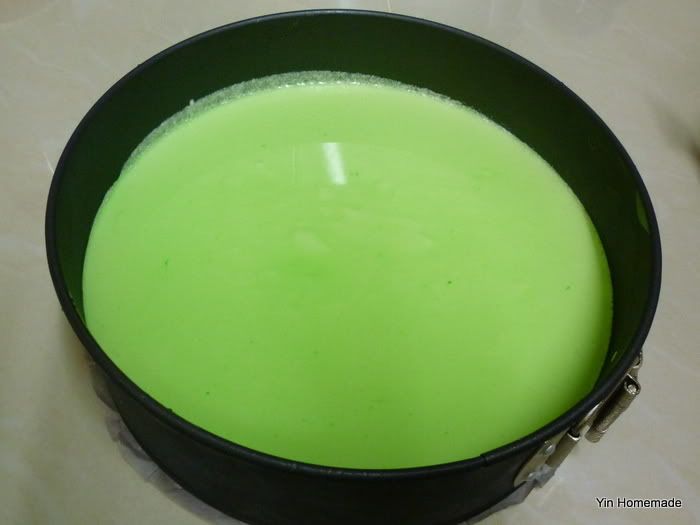
Again, this recipe was shared by Helen in Auckland. I found this simple cheesecake recipe so versatile that different variation of cheesecake look can be produced by merely changing the toppings. Her original topping called for fruit jam; however I was no fruit jam lover. I ended up with gelatin lime topping instead as I wanted to go in line with the Muslim’s Raya colour – green. I used the juice of half a lime and one to two drops of green food coloring to come up with the lime green topping cheesecake J
The topping was not well turned-out as I expected to have a smooth layer of jelly looking topping. This might due to overnight chilled effect in freezer.
Nevertheless, the cake received great comments from my colleagues. I was overly flattered when one of my colleagues came to me the next day and wanted to place an order to make this cheesecake as birthday cake for his little nephew. He told me that he brought back a piece to his nephew and he loved it so much and asked to have the same for his birthday! J
 |
| Highlights of office lunch sharing |
NO BAKE CHEESECAKE
INGREDIENTS A (BASE)
60g butter, melted
INGREDIENTS B ( FILLINGS)
250g cream Cheese
Few drops of lemon/lime juice
300ml fresh cream
½ cup caster sugar
3 tsp. gelatin
½ cup hot water
INGREDIENTS C ( TOPPING)
1tsp gelatin
100ml hot water
2-3 tsps. fruit jam (or replace by other topping to your preference)
METHOD :
1. Put all the Oreo biscuits into a plastic food bag and crushed into fine crumbs.
2. Melt the butter and add to biscuits crumbs to form moist biscuits mixture.
3. Place a round greaseproof paper in the base of a 20cm/9in spring form cake.
4. Pour the crumbs mixture into the bottom of the cake tin. Using the back of a spoon, gently smooth and level to form moist biscuits base of the cheesecake.
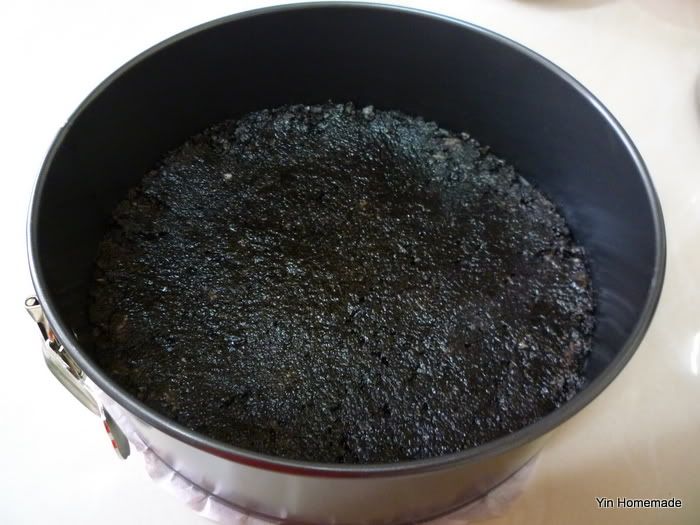
5. Chill in the fridge for at least 10 minutes while making the filling.
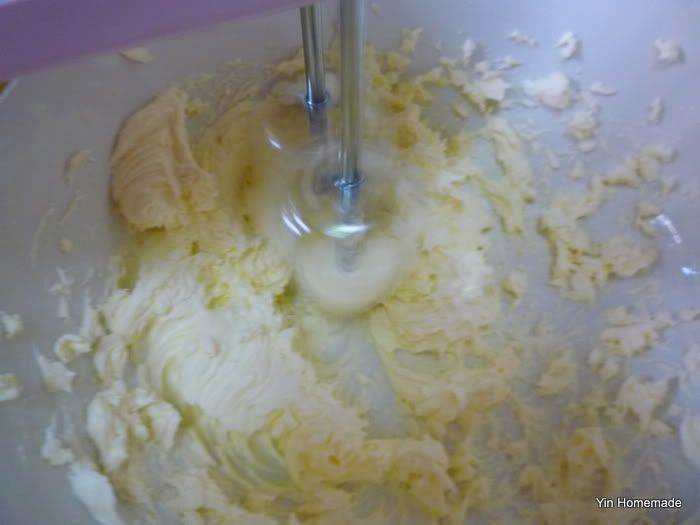
6. Pour fresh cream and caster sugar together in a bowl and use hand mixer to beat until you have creamy mixture.

7. Use separate bowl and blend cream cheese with few drops of lemon/lime juice. ( I just use half a lime)
8. Use half cup of hot water and stir to dissolve 3 tsp. of gelatin, set aside to cool before use.
9. Combine both creams with cool gelatin mixture and use hand mixer to blend until smooth creamy mixture.
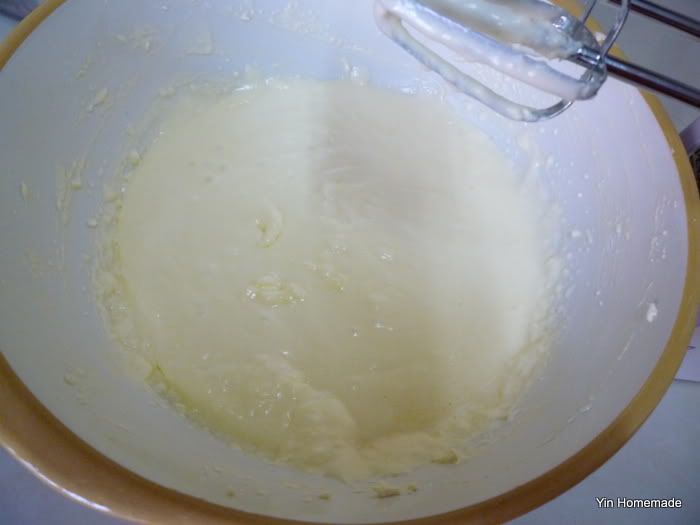
10. Pour and spread mixture evenly on top of the chilled biscuit mixture.
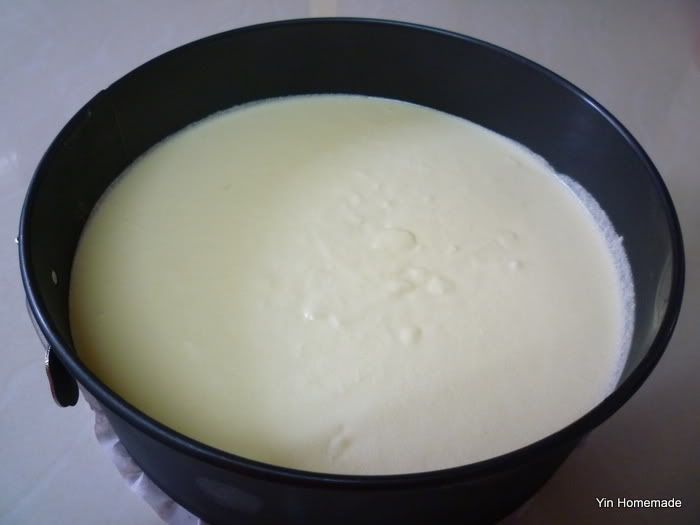
11. Chill in the fridge for at least 3 hours.
12. For topping, dissolve 100ml hot water with 1tsp. gelatin and add in fruit jam and stir well and set aside.
13. Once fruit gelatin cool down, pour on top on cheese cake and leave to set in the fridge for another hour until the topping has set.
冰冻芝士蛋糕
材料 :
饼底
150克Oreo巧克力饼干
60克牛油,融化 馅料 250克奶油芝士
100毫升热水
2-3茶匙果酱 方法: 1。在塑料袋中放入饼干用擀面杖碾碎,移到容器中 。加入熔化的牛油,搅拌均匀。 2。在一 个20cm/9in圆形蛋糕模型底部先铺上一层烘焙纸。
3。倒入饼碎混合物,使用汤匙的背面,轻轻抚平填满蛋糕模底部。后在冰箱冷藏至少10分钟。
4。将鲜奶油放入一个容器加入砂糖,用打泡器打到奶油粘膏状程度
5。在另一个容器中放入奶油芝士加入柠檬汁,用手搅拌机搅拌搅拌均匀。
6。用半杯热水,搅拌溶解3茶匙明胶,冷却后再使用。
7。将3其一点一点地加入奶油芝士中,后加入冷却的明胶用手搅拌机打至无颗粒粘稠状态。
8。从冰箱中取出模型,倒入原料,在放入冰箱冷冻3个小时以上至成型。
9。约3个小时后取出冷冻芝士蛋糕来装饰。
10。把1 茶匙明胶溶于100毫升热水后添加果酱搅匀,待用。
11。一旦水果酱明胶降温倒入芝士蛋糕上,放回冰箱再冷冻一个小时。 12。美味的的芝士蛋糕就这样新鲜出炉了! 13。你也可随意放上自己喜欢的水果或者饼干、巧克力。 |

Hi Yin, I’m Back From Finland, Arriving With Mr Angry Bird!
ReplyDeleteI love making non-bake Cheesecake too! How I envy u, always having a big party with friends & colleagues :)
Shirley:
ReplyDeleteI just received my first order to make this non-bake cheesecake for a 3yrs old this weekend.
Btw, I envy you more on your huge angry bird pillow! :-)
hey
ReplyDeleteyou back to work in Malaysia? what's your dept? it's so much better working and blogging than only blogging!!
the cake looks so sweet! and it's always so much fun sharing good food with friends!
Thoma:
ReplyDeleteAt first I was wondering who is Junkie book, apparently is you :-P
Welcome back! Nice to know you enjoyed your break.
Yup, after moving back to Malaysia I resume work in 2 months time back to my ex-company working in Finance department.
cool recipe
ReplyDeleteDear Yin
ReplyDeleteI am a working mother of 2 girls who is now starting to discovery culinary art. Stumbled upon your blog by accident and I have been an avid follower ever since. Tried your no bake cheese cake recipe for the second time now and I should say my family loves it so much! Just would like to say a BIG thank you for sharing this.
Keep cooking and baking!
Love
Yen Li
Dear Yen Li:
ReplyDeleteThanks so much on your compliment and following my blog.
I'm very pleased to have your support. This is great booster to encourage me to fulfill one of my 2012 new year resolution - to be more active in blogging and cooking again.
Frankly, being a career women sometime quite demanding to keep interest in cooking/baking, as we need committment in balancing them with our busy schedule.