Wanna another slice?
Following my great success in making
white toast bread using Tangzhong (water roux starter) method, it motivated me to try on Wholemeal Bread
J
 |
| Wholemeal Toast Bread 全麦土司 (湯種法) - Featured in Group Recieps on 19/11/2010 |
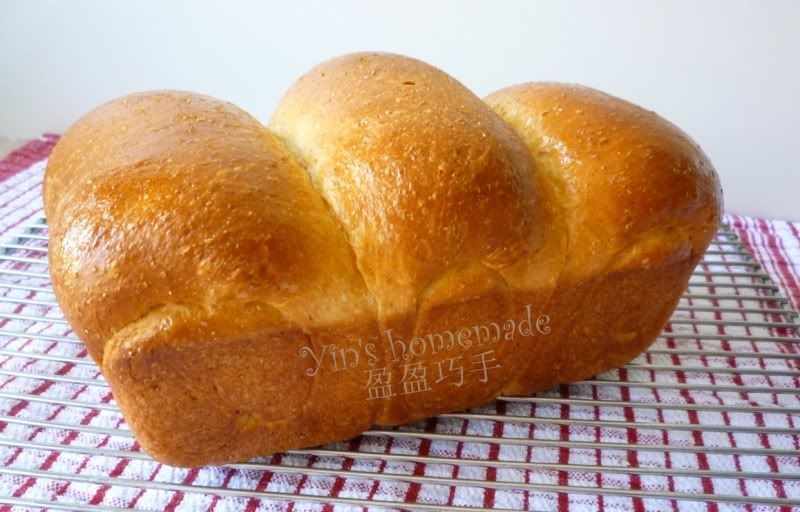
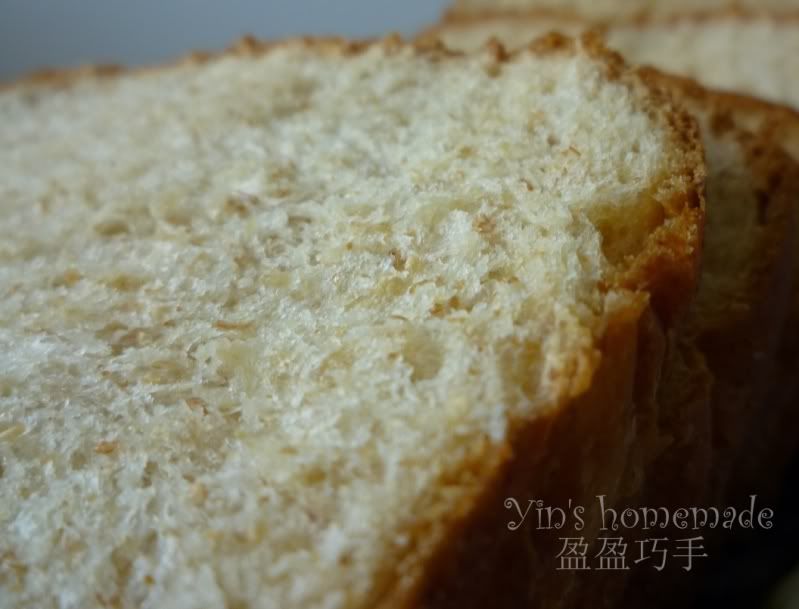
I was so pleased to see another successful batch of flavorsome, soft and spongy wholemeal bread coming out from my oven. Ray has been waiting anxiously to try out the bread since he saw me kneading the bread dough last night.
I was flattered when Ray's Nanny commented that the bread tasted so much nicer and softer than the one I bought from the shop
J
繼續閱讀中英对照食谱
WHOLEMEAL TOAST BREAD (WATER ROUX STARTER)
INGREDIENTS:
Bread Dough :
A:
280g high grade flour (Bread Flour )
200g wholemeal flour
7g Salt
50g caster Sugar
10g Instant Dry Yeast
B:
1 egg – 60g
140ml Milk
120g Tangzhong ( 50g High grade flour : 250ml Water )
C:
35g melted Butter
TANGZHONG (WATER ROUX STARTER) MAKING METHOD
DOUGH MAKING METHOD: (HAND KNEADING METHOD)
- Pour flour into mixing bowl; add in the rest of ingredients A. However, avoid having the salt come in direct contact with the yeast which might dehydrate and kill the yeast.
- Add in ingredients B and use spatula to mix the dough until the dough was too sticky to move then start using hands to knead the dough in the mixing bowl.
- Initially, you will experience very gluey dough, just continue to mangling with the dough, after 10 minutes it will gradually firm up.
- Once the dough firm up, you can start to knead the dough on a clean, smooth surface that's at a comfortable height. I did not flour the surface, the more I knead the dough the less sticky the dough became.
- It took me at least another 10-15 minutes to knead to transform the initial glob of gooey dough into smooth dough which ready for the final ingredient C.
- Check to evaluate on the gluten development of the dough before adding in butter. The dough should be stretchy.
- Place the dough back into mixing bowl and pour in melted butter, knead to combine.
- Be prepared to deal with oily dough for another 10 minutes before the butter totally blend in.
- Once the dough was not so oily, move back to kneading surface and continues to knead until forming smooth and elastic dough. (It took me about 15-20 minutes)
- Test by pulling the dough. Dough with wholemeal flour will be harder to reach the stage of thin sheet. Hence, as long as the dough is stretchable and not easily breaks off, the dough is ready for its first rises.
- Once the dough double in size (Finger test – Poke finger into center of the dough and depression not rise up, dough fully proof ) punch it a few times to deflate it (using hand knuckles)
- Divide dough into 3 equal portions and shape them into balls. Covered and leave them to rest 15 minutes.
- Shape each into an oval shape. Place them into a greased loaf pan, covered with greased plastic wrap and leave dough to proof for 2nd time.
- Preheat oven 180°C and bake for 30 minutes. Instead of using egg wash, I spray the bread dough with water before I place the loaf pan into the center of the oven.
- To avoid over burnt crust, after 15-20 minutes of baking, I use foil lightly cover the bread and continue to bake until the required time.
全麦土司 (湯種法)
汤种材料:
高粉50克,水250克 (汤种做法)
吐司材料:
A:高粉280克,麦粉200克,白砂糖50克,盐7克,干酵母10克,
B:牛奶140克,全蛋60克汤种120克
C:牛油50克
做法
將材料放入攪拌盆, 加入材料 A, 把酵母和糖、鹽分開放。以免脫水。
再加入材料B后用抹刀将面粉攪拌成团,直到面团太粘,才开始用双手揉面团。
最初5分钟,你将体验非常黏手的面团,只要继续揉,面团将逐步成形。
一旦面团成形,你可以开始把面团倒在干净光滑的台面继续揉。不需要在台面上撒粉。
我花了至少10-15分钟才把面团搓成有弹性和筋膜的面团。
然后把面团放置回盆里,加入融化的牛油。这时你将面对很油腻很不像样的面团。
但坚持搓下去,10分钟后,一旦面团没那么油腻,回迁台面揉面至光滑,富有弹性可扩展阶段的面团。把揉好的面团放入干净的容器中,跟着用保鲜膜盖好,作第一次发酵,至面团发大两倍。(手指测试 - 将手指戳下面团中心起不来,就证明面团充分发酵)
用手关节拍下排去面团内部的空气,分割成3份滚圆,松弛15分钟。
将3份面团擀成椭圆形;自上而下卷成圆筒状,收口朝下,依次放入排入抹油的面包盘或吐司盒用保鲜膜覆盖继续进行最后发酵。把烤箱预热180度。我没在面团上塗蛋液我只用少量的水喷在面包团才放入烤箱中烘烤30分钟。为了避免面包过于上色,烘烤15-20分钟后我就用铝箔轻轻盖上面包,继续烘烤,直到所需的时间。出炉后立即脱模。 |


What a lovely bread! Looks so soft and perfect...
ReplyDeleteTreat and Trick:
ReplyDeleteThanks for your lovely remarks and hope to see you again.
That looks great... I have to make bread now, so maybe I'll try something like this. Thanks for the recipe.
ReplyDeleteGourmande:
ReplyDeleteThanks, do try it and let me know :-P
This looks great and delicious!
ReplyDeleteJoyce:
ReplyDeleteThanks and nice having you over here hope to see you around.
This comment has been removed by the author.
ReplyDelete