Famous milky bread from Japan, right here in New Zealand!
Last Sunday morning, the online bidder for our fridge finally came to collect her winning bid. Without a fridge, we had to clear our frozen food stuff. Fortunately there wasn't much frozen food in it as I started to control my buying since last week. Thankfully, we had a good friend, Cheng Ee's family staying just a few doors away that I could ask to store some of the frozen meat.
While emptying the freezer, I noticed there was a packet of flaky puff pastry with only 2 sheets of pastry left. Seeing that, I decided to finish off the pastry by making egg tarts for desserts. That Sunday night, hubby's friend Chen Ming and family offered to throw us farewell dinner at our house with Roast duck takeaways, these egg tarts would be perfect dessert to thank them in return.
To make egg tarts I needed to have fresh cream, which was the main ingredient for egg tart filling (you can check out my egg tarts recipe here). But the standard size of a small bottle of fresh cream here is 300ml which was too much to finish for the number of egg tarts that I was going to make with only 2 pastry sheets left. Considering no fridge to store the left over fresh cream, I had to consume this cream on the same day. Since I had to heat up the oven to bake egg tarts, I thought I might as well work on another baking recipe to use up the fresh cream.
I ended up having a real busy baking day instead of a relaxing Sunday. Thank god, the egg tarts turned out well too.
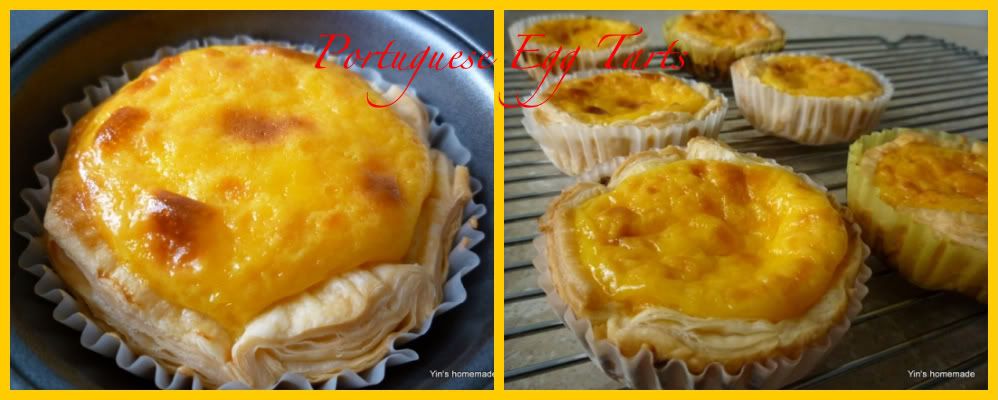 |
| Portuguese Egg Tarts |
This Tangzhong (Water Roux) recipe was again adapted from Christine's Recipes. The technique of kneading milky bread was not much different from other Tangzhong breads which I shared here.
The only variation was the ingredient of using fresh cream and milk in replacing water, which was why they called milky loaf. As the name suggested, this bread originated from Japan and the actual recipe used Hokkaido's Furano fresh milk which obviously was not available here. For this recipe, I used local fresh milk and cream instead, so maybe I should rename it to Kiwi Milky loaf instead J
I baked this loaf using a good quality bread pan, a gift from Cheng Ee. The loaf was beautifully baked and easily taken out from the tin.
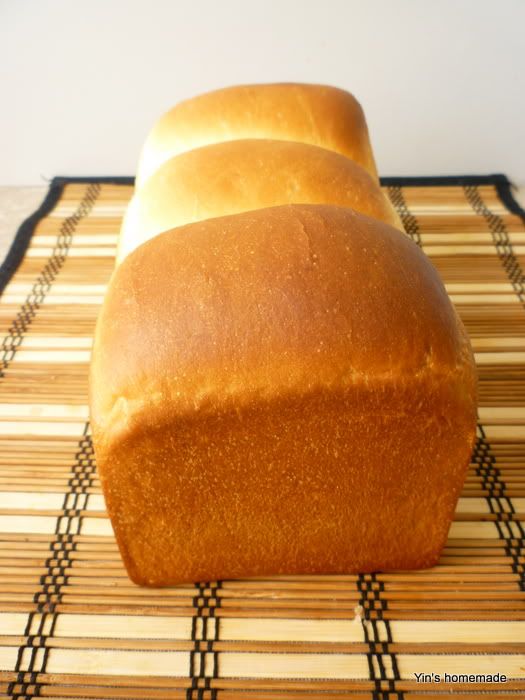 |
| Before glazing |
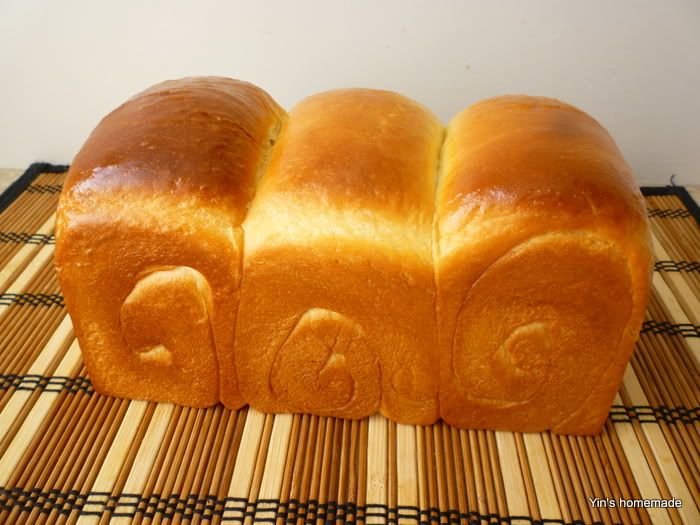 |
| After glazing with butter |
That evening, I gave 2/3 of the loaf away to Cheng Ee and Chen Ming without tasting them. I was quite confident the bread tasted good, this was because when I sliced the bread, I felt the texture of the bread was just right - soft and fluffy.
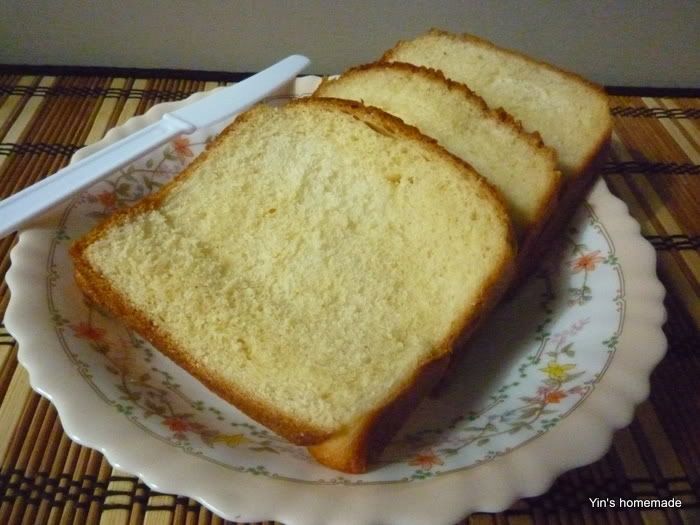 |
| Hokkaido Milky Loaf 北海道牛奶土司 |
HOKKAIDO MILKY LOAF
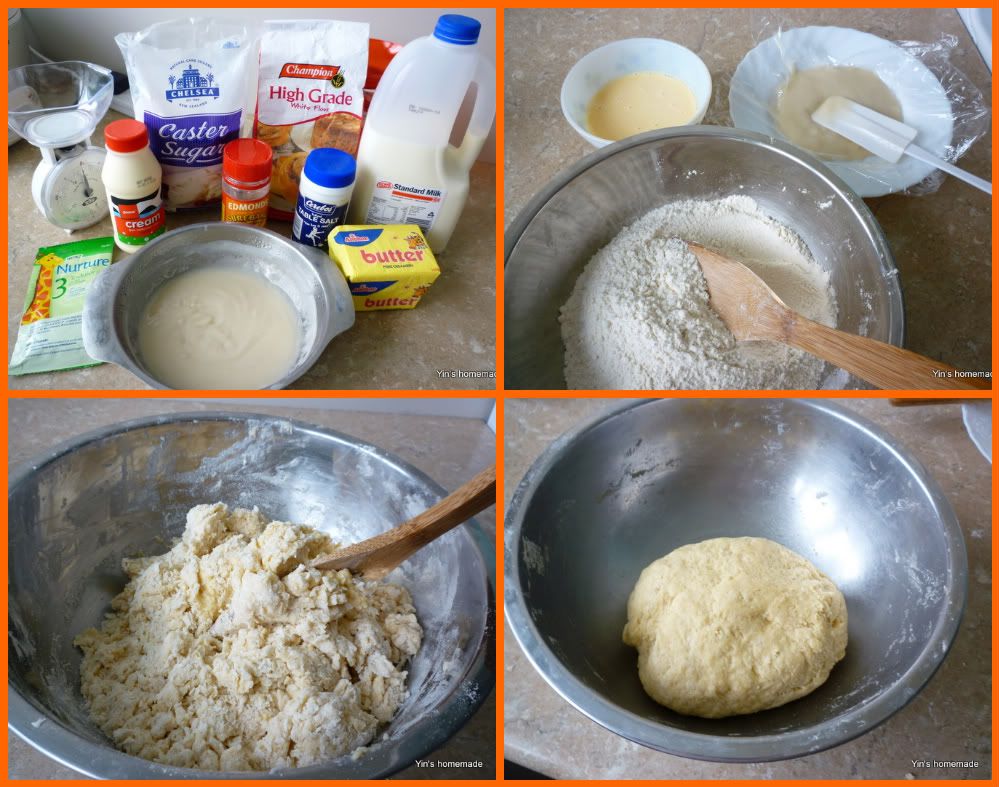
A 450 gm high grade flour (bread flour ) 75 gm caster sugar 5 gm salt 8 gm milk powder (optional) 10 gm instant dry yeast B 1 egg 50ml milk 50ml fresh cream 150 gm Tangzhong (refer here for making tanzhong, substitute water with milk) C 40 gm butter ( softened at room temperature) Method:
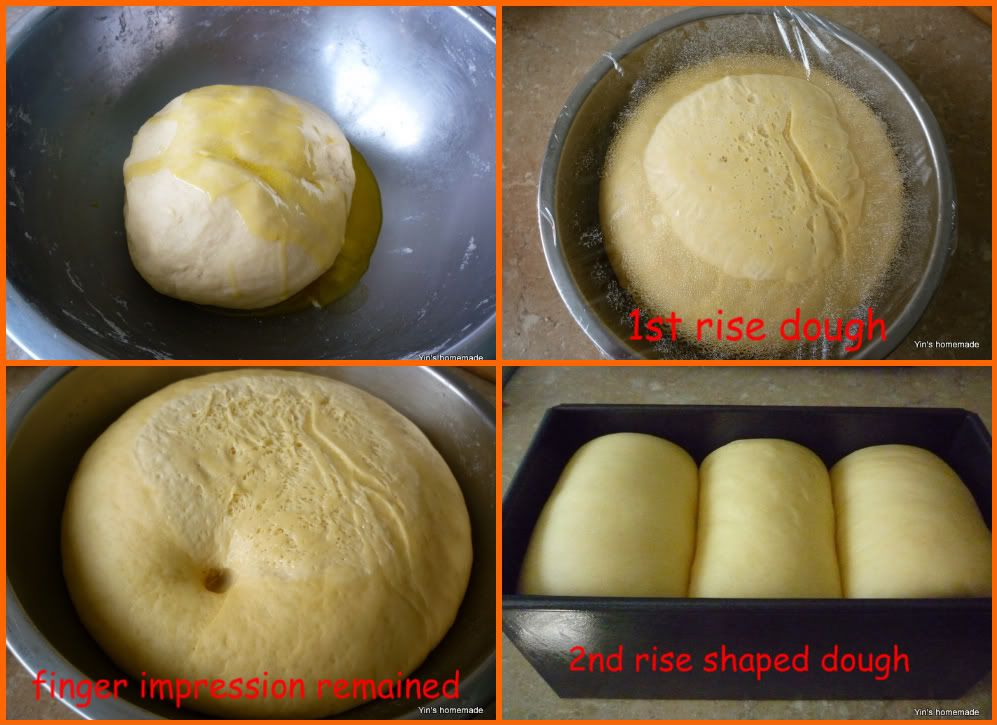
北海道牛奶土司 这汤种面包法也是改编自我喜爱的美食博客基絲汀簡易食譜。牛奶味特别浓厚的超软土司,你会吃不停口! 材料: A 450 克高筋粉 75 克糖 5 克盐 10克快速酵母(Instant Dry Yeast) 8克奶粉 (增加香味,可不加) B 60 克全蛋液 (一粒七号蛋) 50毫升牛奶 50毫鲜奶油/鲜忌廉 150 克汤种 (做法参考此食谱,汤种用牛奶替换水) C 40克牛油(奶油,置室温放软) (待面团起筋,即成团后,才加入) 做法: 面包机做法: 把所有材料(除牛油外)依次倒进面包机(先放湿的材料,然后才放干的材料):牛奶,蛋,汤种,盐,糖,奶粉,高筋粉,最后放酵母。我习惯在面粉中央拨开一小洞,把酵母放进去。 选择面包机的basic功能,材料搞拌至成一面团,就放进已融解的牛油,继续搞拌,成一光滑面团。 测试面团搓到是否合格程度,面团可张开成一薄膜,而且坚韧即成。当面包机停机,等待面团第一次发酵完毕,见面团发大两倍就取出。 手搓麵粉做法: 把所有A&B材料放入一盘中,酵母不直接接触到盐和糖就可以,以免酵母脱水死亡。搞拌至成一面团, 搓成有弹性和筋膜的面团。要有心理准备,面团会很胶粘的坚持搓下去,搓至完全光滑大约15分钟。加入软化的牛油再搓15分钟有至弹性,面团可张开成一薄膜即成。跟着用保鲜膜盖好,作第一次发酵,至面团发大两倍约2个钟头。用手指测试,如果手指戳的印象仍然存在,这印证了面团发得很好。 放在清洁的工作台上,用手按压面团,挤出空气。切割成3个等份,滚圆,收口朝下。用保鲜膜盖着,静置15分钟。用木棍把每个小面团从中央向外滚成椭圆形。从上向下折1/3后,压紧。再从下往上折1/3后,压紧。将收口朝下,把面团上下压长,约30cm,翻面卷成圆柱形。收口朝下,放入面包模中进行最后发酵盖上保鲜膜或湿布进行最后发酵,至两倍大,约60分钟。 涂上蛋汁或轻轻喷一些水,放入预热至180C (356F) 的焗炉中,焗约25分钟,直至转金黄色为止。放在铁架上放凉,即成。 |



Whoa, well done, Yin! The bread looks super gorgeous. Hope you're having a lovely day.
ReplyDeleteKristy
Wow you make nice bread. It's always my dream to bake homemade bread, like esp. Japanese toasts... I should follow your recipe one day!
ReplyDeleteDiscover great updates recommended and reviewed by the community from tech related to great tasting recipes and traveling at Kendra Bing.
ReplyDeleteAlso, grab the opportunity to promote your blog postings at http://kendrabing.com for FREE while being discovered by whole lot of other like-minded people.
Kendra Bing is the perfect portal for the right source and inspiration for your next blog posting with its massive influx of the freshest and juiciest writing materials.
JOIN today!
Kristy:
ReplyDeleteThanks, we did had a wonderful dinner that night.
Nami:
Great to see you here and welcome to my blog. I hope you do try the recipe, once you get your hands on making Tangzhong bread you will get addicted to them.
Such a perfect and beautiful bread! Love the texture....
ReplyDeletegreat skills in baking Yin, love the egg tart and the way its made. For me, no matter how much I try, baking is out.
ReplyDeleteJust discovered your lovely blog. That milk bread looks so deliciously light. Great step-by-step guide, too. Bon weekend!
ReplyDeleteNava:
ReplyDeleteThanks again. Maybe if you try with ready-made pastry first then you might feel baking can be real easy.
T&T:
Thanks. I especially like the milky flavour.
Hi Jill:
ReplyDeleteMy pleasure to have you visit my blog too. Thanks for your kind words, I'm so flattered especially coming from a cookbook author.
I've been thinking to try out making macarons since the day when one of my baking friend introduced me how I can use the egg whites after I had made my egg tarts (which I made quite frequently).
But after hearing her out on the steps and the way to whisk the egg whites, it seem so difficult. But recently macarons seem to be a trend in baking, so maybe I should brave myself to try out.
Your tips and guides are added bonus to inspire me to give it a try.
hi, can i use all purpose flour? i'm making this tomorrow and i don't have time to buy bread flour. I heard its going to be tougher but will it be softer than regular white bread or the same? :)
ReplyDeleteHi there:
DeleteFrom my understanding all purpose flour is group under low gluten flour which might not give you the high gluten texture require in bread making.
I never use plain flour for bread however one of my neighbour used plain flour once for bread making(all purpose flour) and she told me that the bread was hard and not so nice to eat.
But as you can give it a try, as I understand English Muffin bread using plain flour and the texture of the bread is chewy, hence you might get that kind of texture too.
I found this article which help to turn plain flour into bread flour you may try that.
http://www.ehow.com/how_4483381_turn-plain-flour-bread-flour.html
Can I just use half of the ingredients to make a half size loaf? As my family member only hubby and I and a little son.
ReplyDeleteJust divided everything into half?
Penny:
DeleteYes, like I said just work as math on recipe formula :-)
However, good to follow the recipe first and just bake more and once you have successful with the loaf you can reduce half.
Me too with a small family with only myself and son are bread lovers and I still bake a whole loaf and always share with our neighbours and friends.
good luck!